


Growing Olives: Seed Selection & Starting
Look, there's always Home Depot for seedlings.

I’ve always dreamed of a big garden that could sustain my family, at least partly, but that doesn’t mean that all subsistence efforts have to be fancy. You can have raised beds, you can have aeroponic towers, you can have massive operations, or you can just dig up some dirt in your back yard and plant some stuff. It’s not rocket science — at least not at first.
The one common denominator in all gardens, though, is plants. You have to have them or at least attempt them. Today, we’ll go over what I’m doing right now to get ready for failing to grow them, so that you can fail to grow them, too.
Your first step is, of course, to select a place where you eventually intend to plant plants. Ideally, this spot is sun-drenched, even if you think you might be getting plants that prefer shade. No plant truly prefers shade. If they say they do, they’re lying. Plants that do, in fact, like shade, will make their own shade — think your squash, including pumpkins and zucchini. In my growing zone, these plants are less likely to die by scorching, anyway, since “squash borers” will get to them first.
The second step is to understand your soil. Most soil testers are a waste of money, but it is worth knowing whether your soil is high or low pH, whether you have loose or compact soil, whether you have some clay in your soil, and how far you can dig until you get to either bedrock or a water table — by which I mean you should dig down about a foot to make sure you’re not at either of those things.
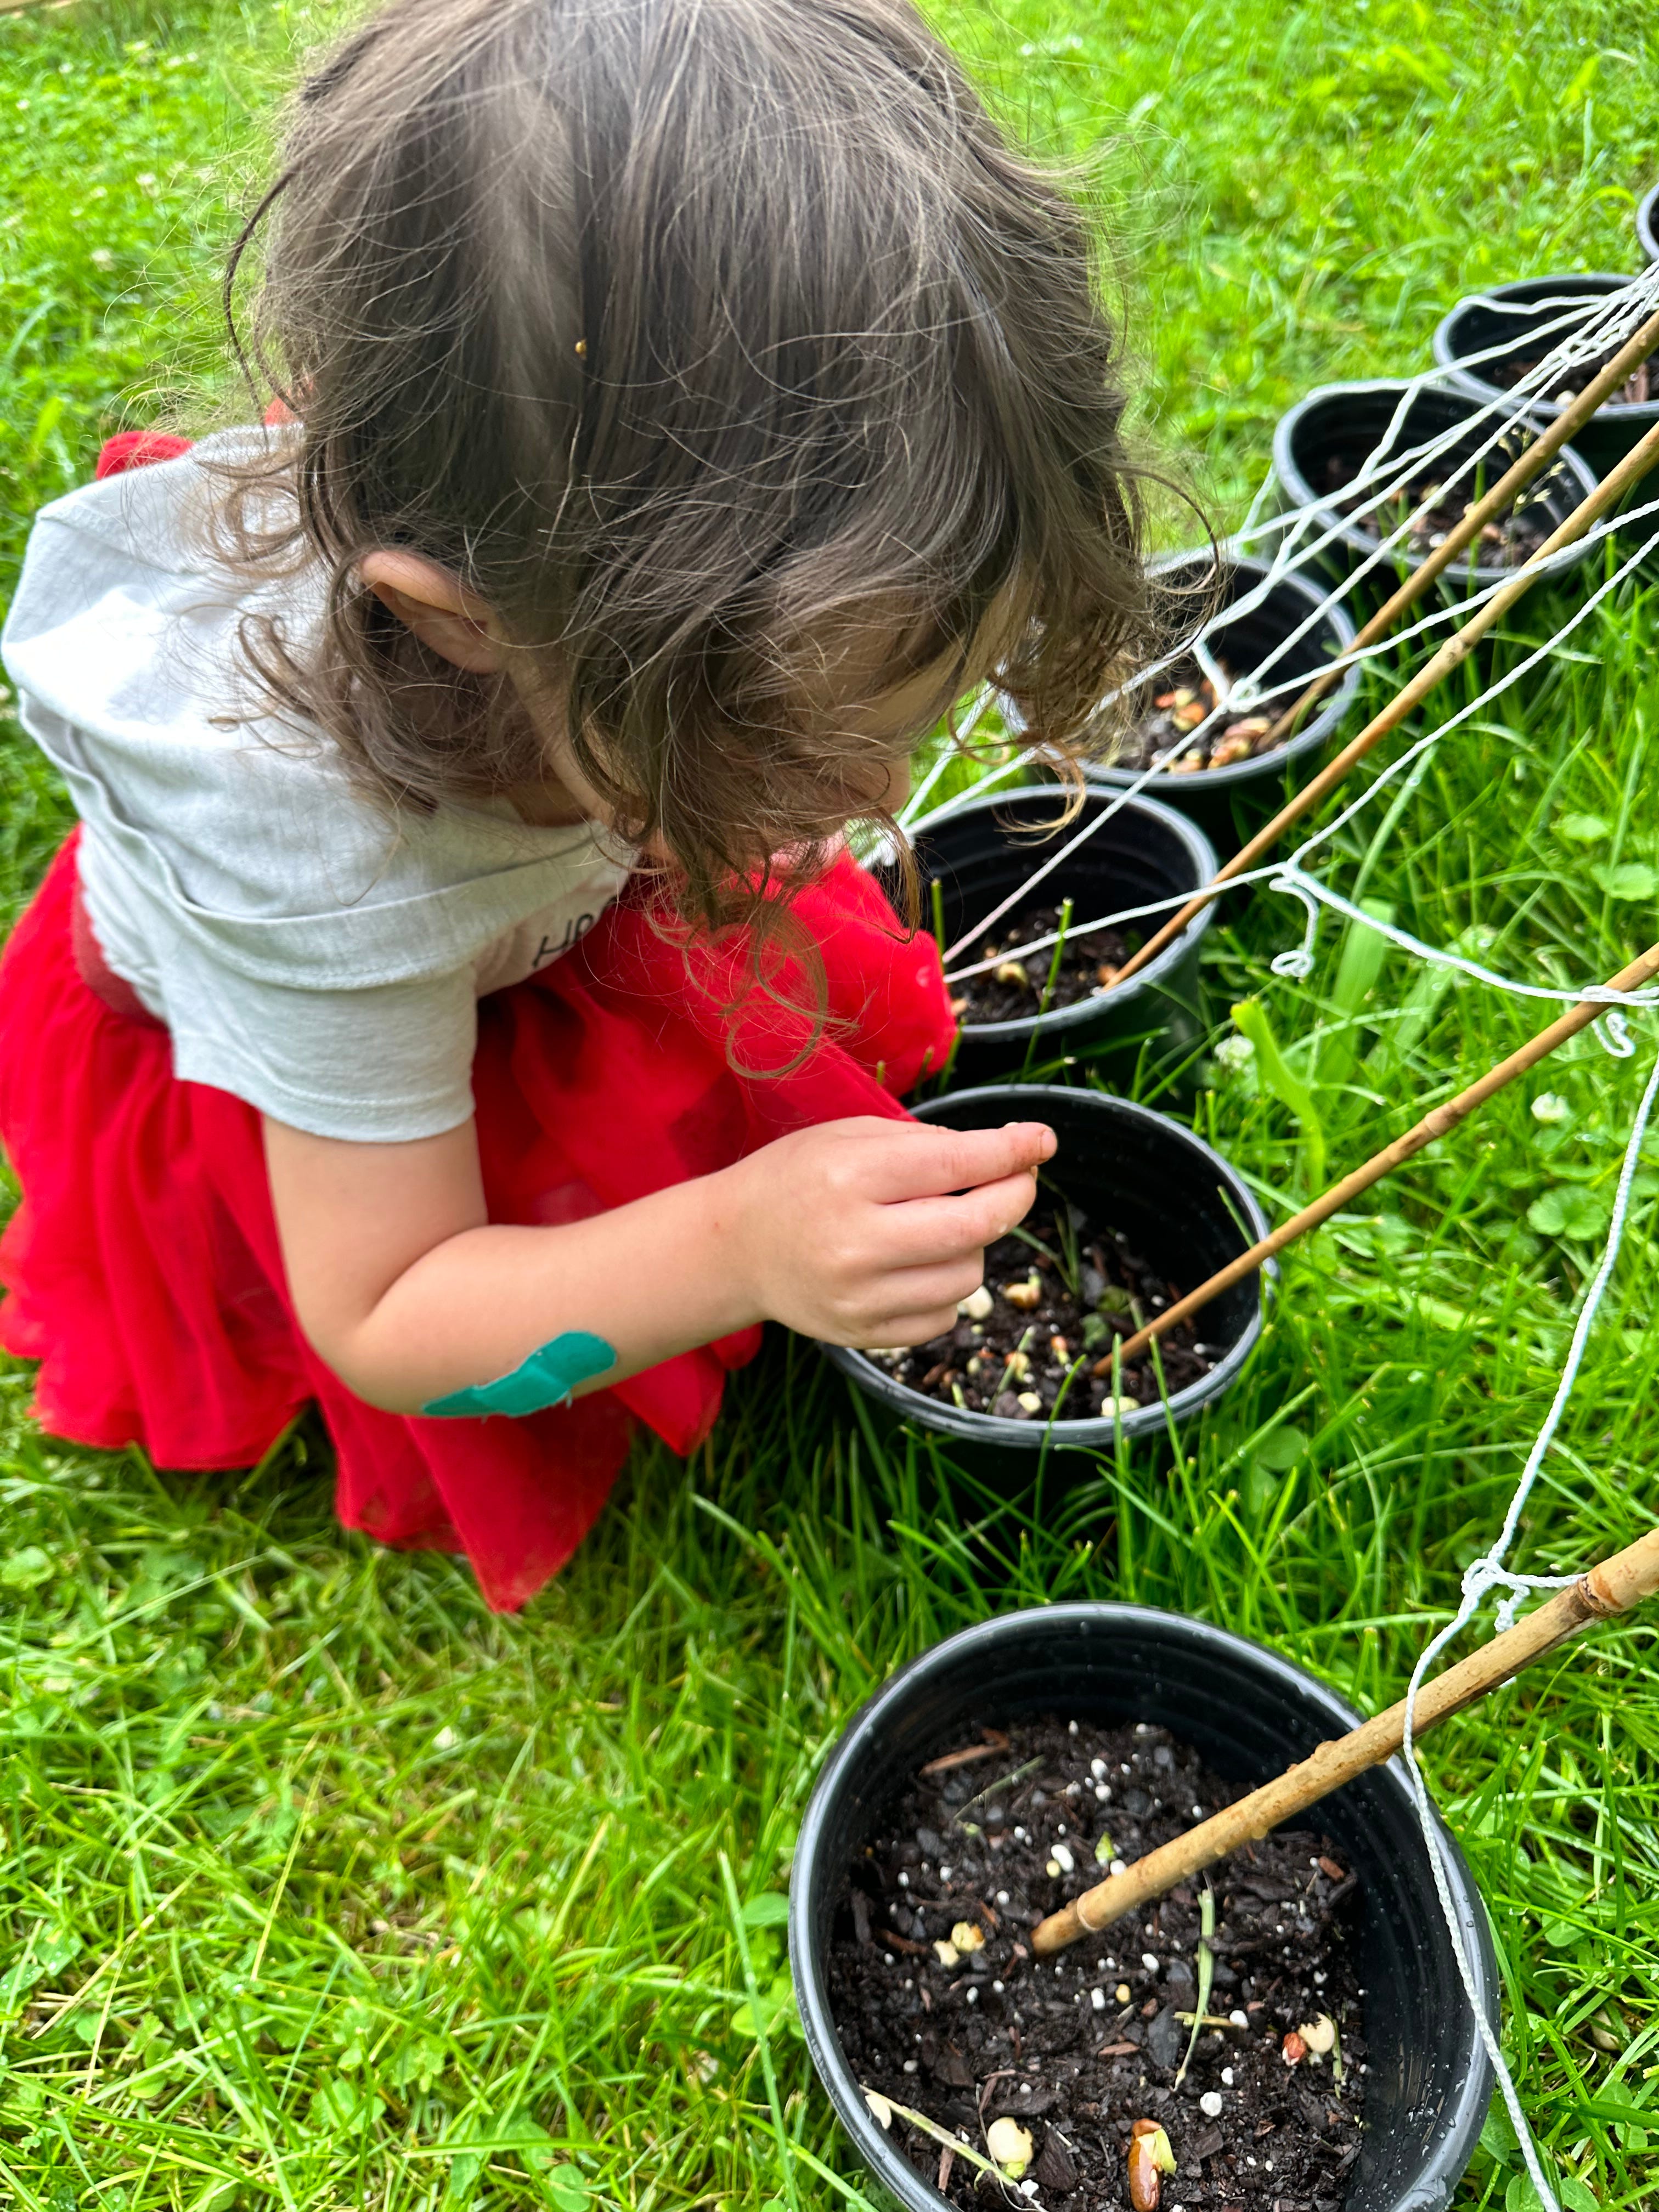
The third step is seeds which, with love and care and sunlight and attention, and water, should eventually become plants.
Knowing (Your Microbiome) is Half the Battle
There isn’t much expertise I can offer that others can’t, at least on the subject of growing seeds, but I can tell you that caring for your soil is as important to getting a decent harvest as caring for your plants is. Soil isn’t just an object, its an entire ecosystem unto itself — a microbiome — and its home to billions of microscopic creatures, vitamins and nutrients that can spell the difference between success and disaster. Insects are, of course, ever present, but so are worms, and millions of micro-organisms.
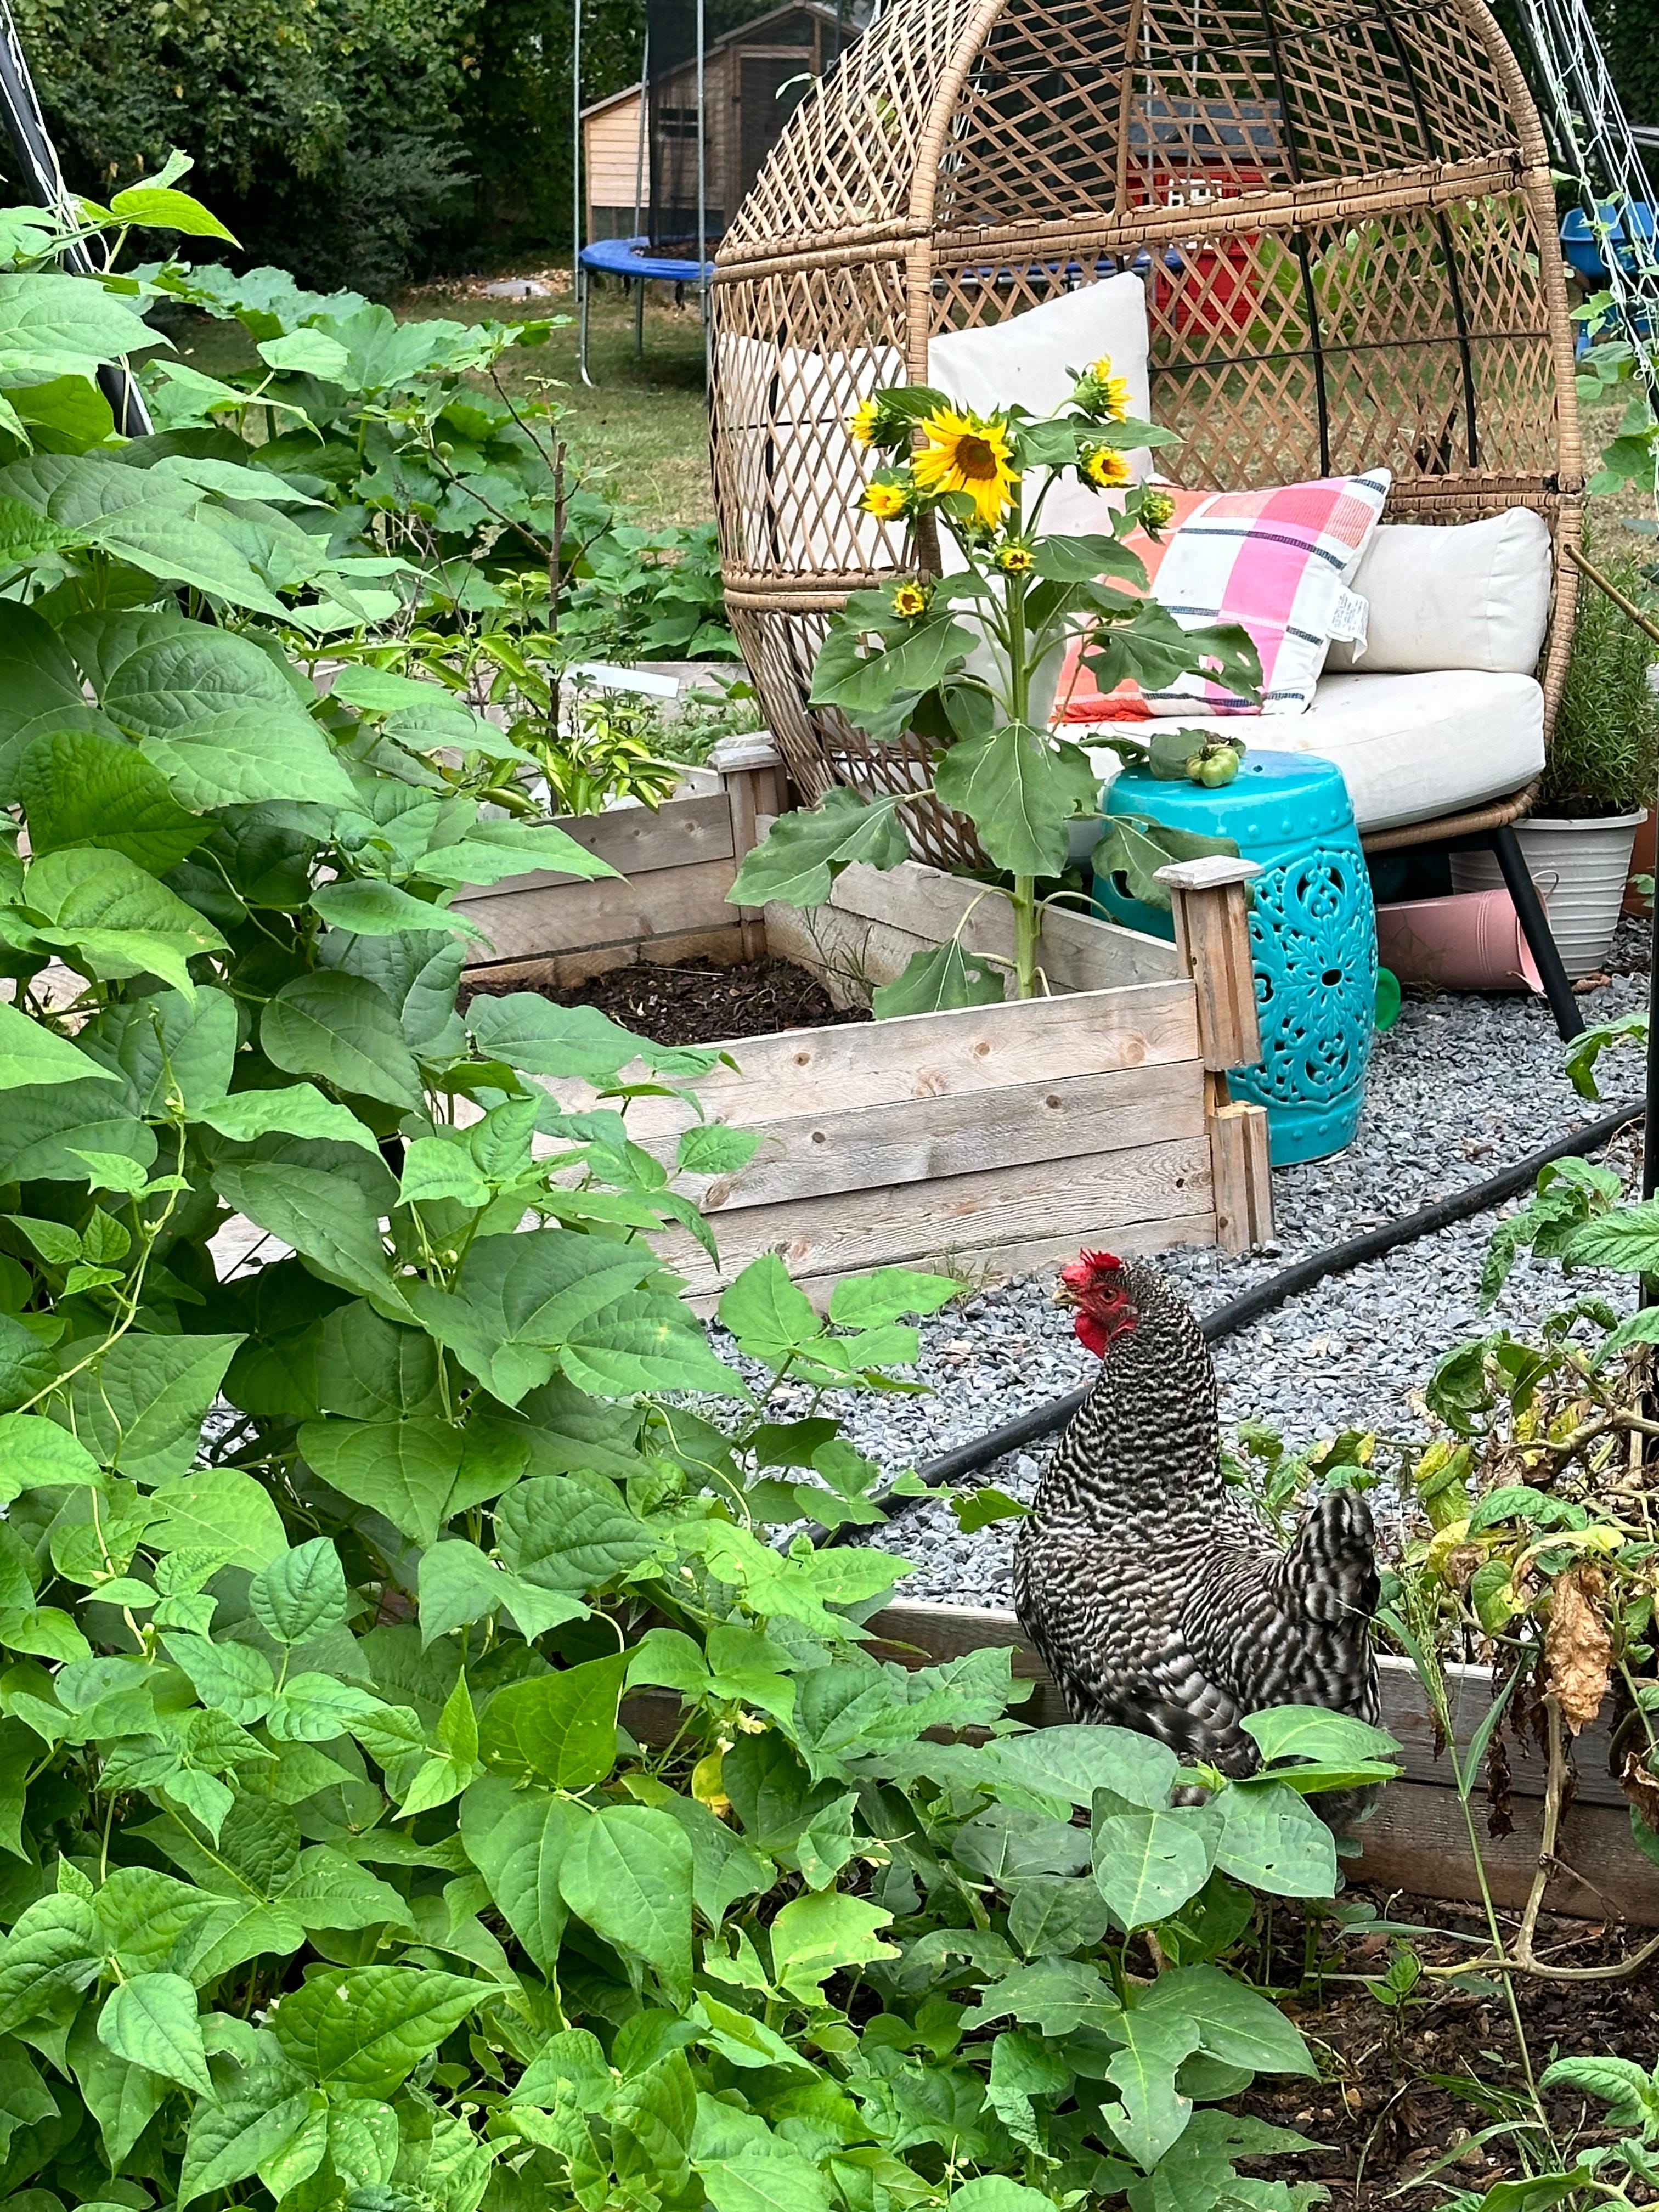
For my raised beds, I do a traditional 1/3 soil, 1/3 compost, 1/3 manure mix when starting out. Since we compost on our own, we’re fairly continuously refreshing the rotting plant matter in our boxes. Our chickens provide a constant source of manure, and do a great job keeping the boxes free of pests, cutting down on any pesticides or (horror!) RoundUp we might need in order to make our boxes clean and ready for transplant.
We’ll get to that stuff soon, but just know its coming.
That said, you can also ignore your soil. This is also a demonstrably successful plan, at least the first year, and especially for plants that are native to your area and grow above the ground. But nightshades, like tomatoes and eggplant, need calcium. Carrots need loose soil. Okra, here in the south, will take root, grow a forest of itself, achieve sentience, and begin building its own civilization. And it’s best to be prepared, somewhat, before you select your seeds, so you don’t set yourself up for disaster before you grow anything.
At least wait until after, like I do.
Picking Your Crops
The next step is to find your growing zone. This is easily determined by consulting this USDA map that only works about 40% of the time and has crashed my Chromebook twice while trying to write this. Generally, the map divides the US by latest and coldest frost. Nashville, TN, is in 7a/7b.
Unless you live in the far north or south, most of the US falls within a 6 or 7 grow zone, which means you’ll be able to grow almost all of the commercially available plants pretty well (think the ones you can pick up at Wal-Mart or Home Depot). North of the Mason-Dixon line, you’ll have one long growing season. South of it, two short ones. If you’re really a glutton for punishment, you can do year-round growing in much of the central, southern, and southwestern US, and in many cases, anyone in the 7 grow zones or higher can overwinter some specific crops (but we’ll take more about that in the late summer).
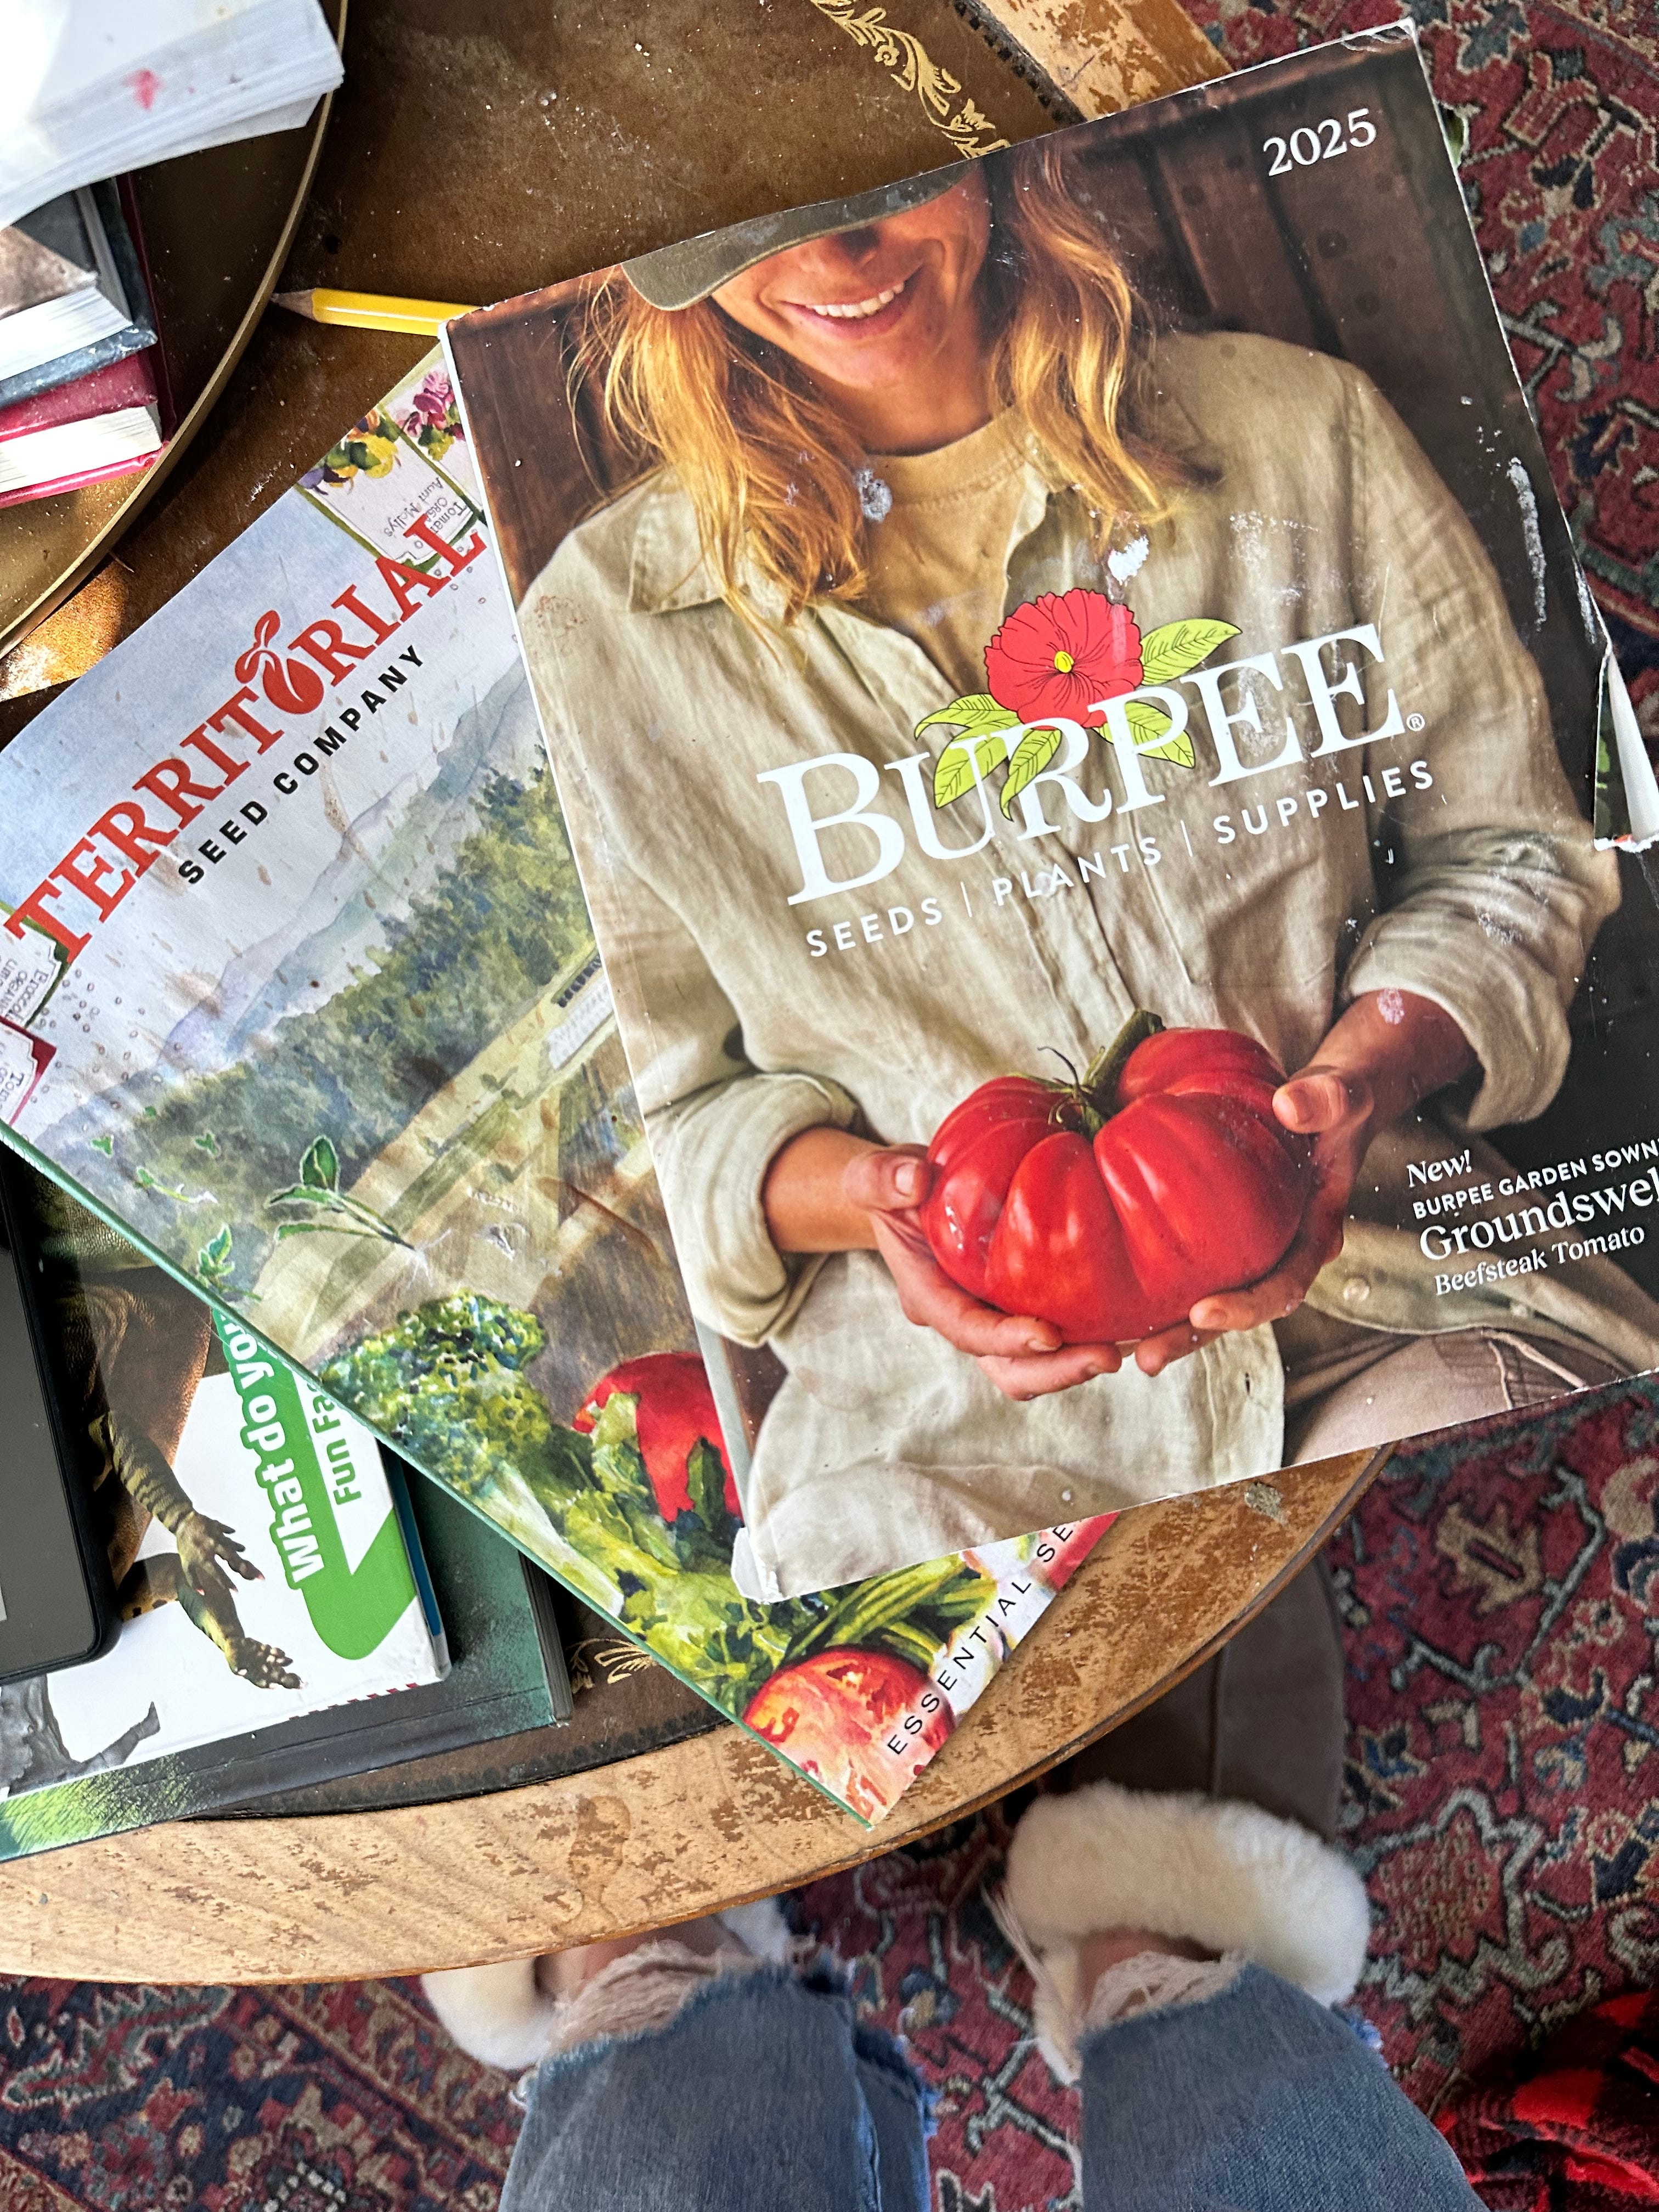
Where you get your seeds is up to you. I’m fine with Burpee, and as I’m still an amateur, going with seeds that aren’t too finicky helps with growth. If I don’t have to worry too much about seeds germinating, I can focus on learning how to maximize my yield. For all of my main crops — tomatoes, peppers, cruciferous vegetables like broccoli and cauliflower, herbs, etc. — I order straight from the Burpee catalog and supplement with whatever I can find at the store.
Both Baker Creek and Territorial Seed Company have vast catalogs of common and rare seeds and both have good growth percentages.
Baker Creek seeds are heirloom, but be wary of any seed company telling you their seeds are ‘non-GMO.’ While some companies, like Baker Creek, may err on the side of selling heirloom seeds that are more naturally modified through cross-breeding, most, if not all of our modern vegetables are the product of genetic manipulation. Corn, broccoli and cauliflower simply wouldn’t exist without human intervention and that’s okay. And unless you’re buying seeds at scale for a major operation, the term “Roundup-ready” probably doesn’t apply to you (and you’re probably not consulting me to get your growing tips anyway).
Since I also grow Asian ingredients, I order from companies like Kitazawa, and I get most of my local seeds from the Southern Exposure Seed Company and the Sustainable Mountain Agriculture Center.
My best suggestion for picking what you want to grow is: go with what you’ll eat. Tomatoes grow in every zone, as do peppers, cucumbers, zucchini, pumpkins, lettuce, herbs, peas, beans, and soybeans.
Herbs: These are my most cost-effective crops. Rosemary, thyme, parsley, dill, and basil are always in my herb garden. Basil can do double duty in summer recipes and is easy to prune so that you get a good yield. Any other herb can be dried for use later or frozen. The only drawback to herbs like parsley and dill is that they will attract butterflies who will use the plants to deposit their eggs. It’s hard to use parsley when you have to displace baby Black Swallowtails. Grow all the herbs.
Nightshades: Tomatoes and peppers can grow in virgin soil and in soil that is treated to be rich with nutrients designed to help nightshades. I prefer tomatoes I can use for sauce since only 1/5 of my household will eat tomatoes raw. Burpee’s beefsteak tomatoes are great for early-career gardeners, and no garden is completely without cherry or patio tomatoes and the rest of a salsa collection. But be judicious on the number of plants you ultimately put in the ground — if you’re good at growing these and nothing has yet touched your soil, you’ll be sick of these by September. Pick one or two varieties of each and focus on those.
Forget eggplant. You’re not going to eat eggplant.
You’re not.
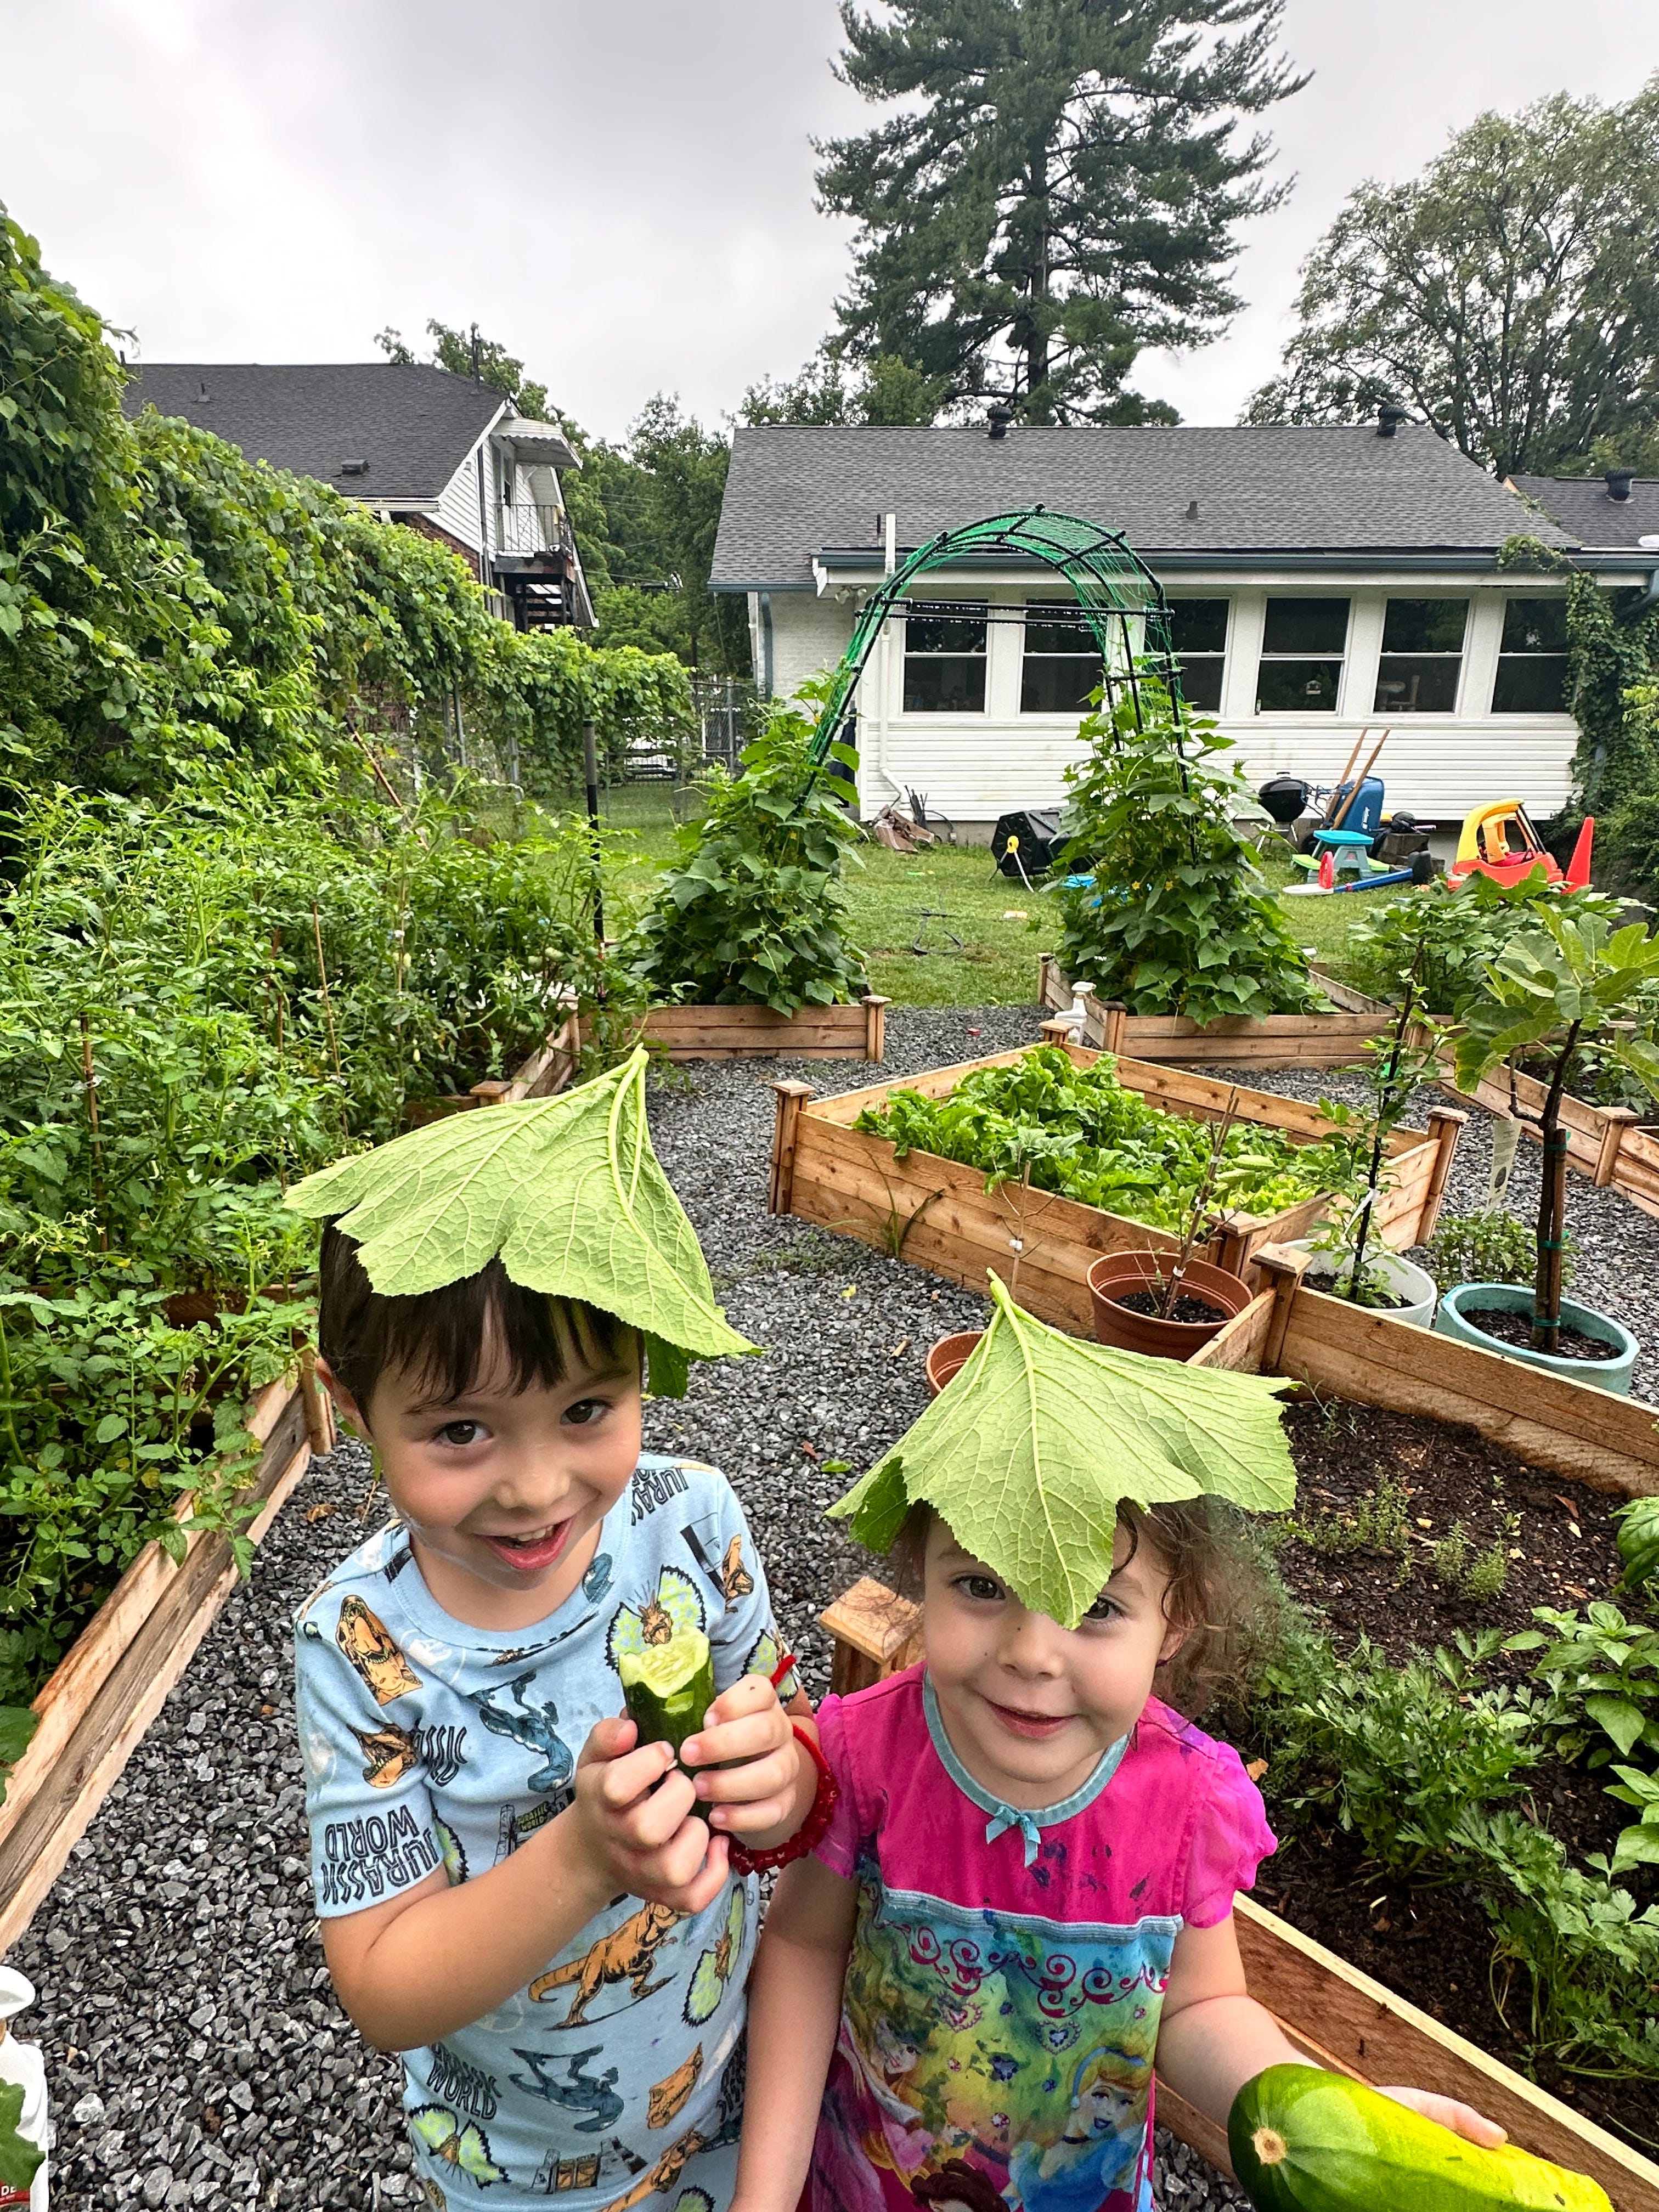
The Crunchy Veggies: Broccoli, cauliflower, and Brussels sprouts have a long growing time (not, like, worse than asparagus or anything, but it’s an all-summer project) and unless you’re starting seeds in January, you’ll get maybe one round of production before your plant gives up or you get tired of encouraging it. The leaves make for good hats for toddlers.
Cucumbers: The small ones are easier, but you have to remember to pick them. Cucumbers need an a-frame or other type of support or they’ll quickly turn yellow and become useless. Gherkins work better for small spaces since you won’t need a large system to support and grow them once they get large. Great crop for if you have pollinators or want pollinators.
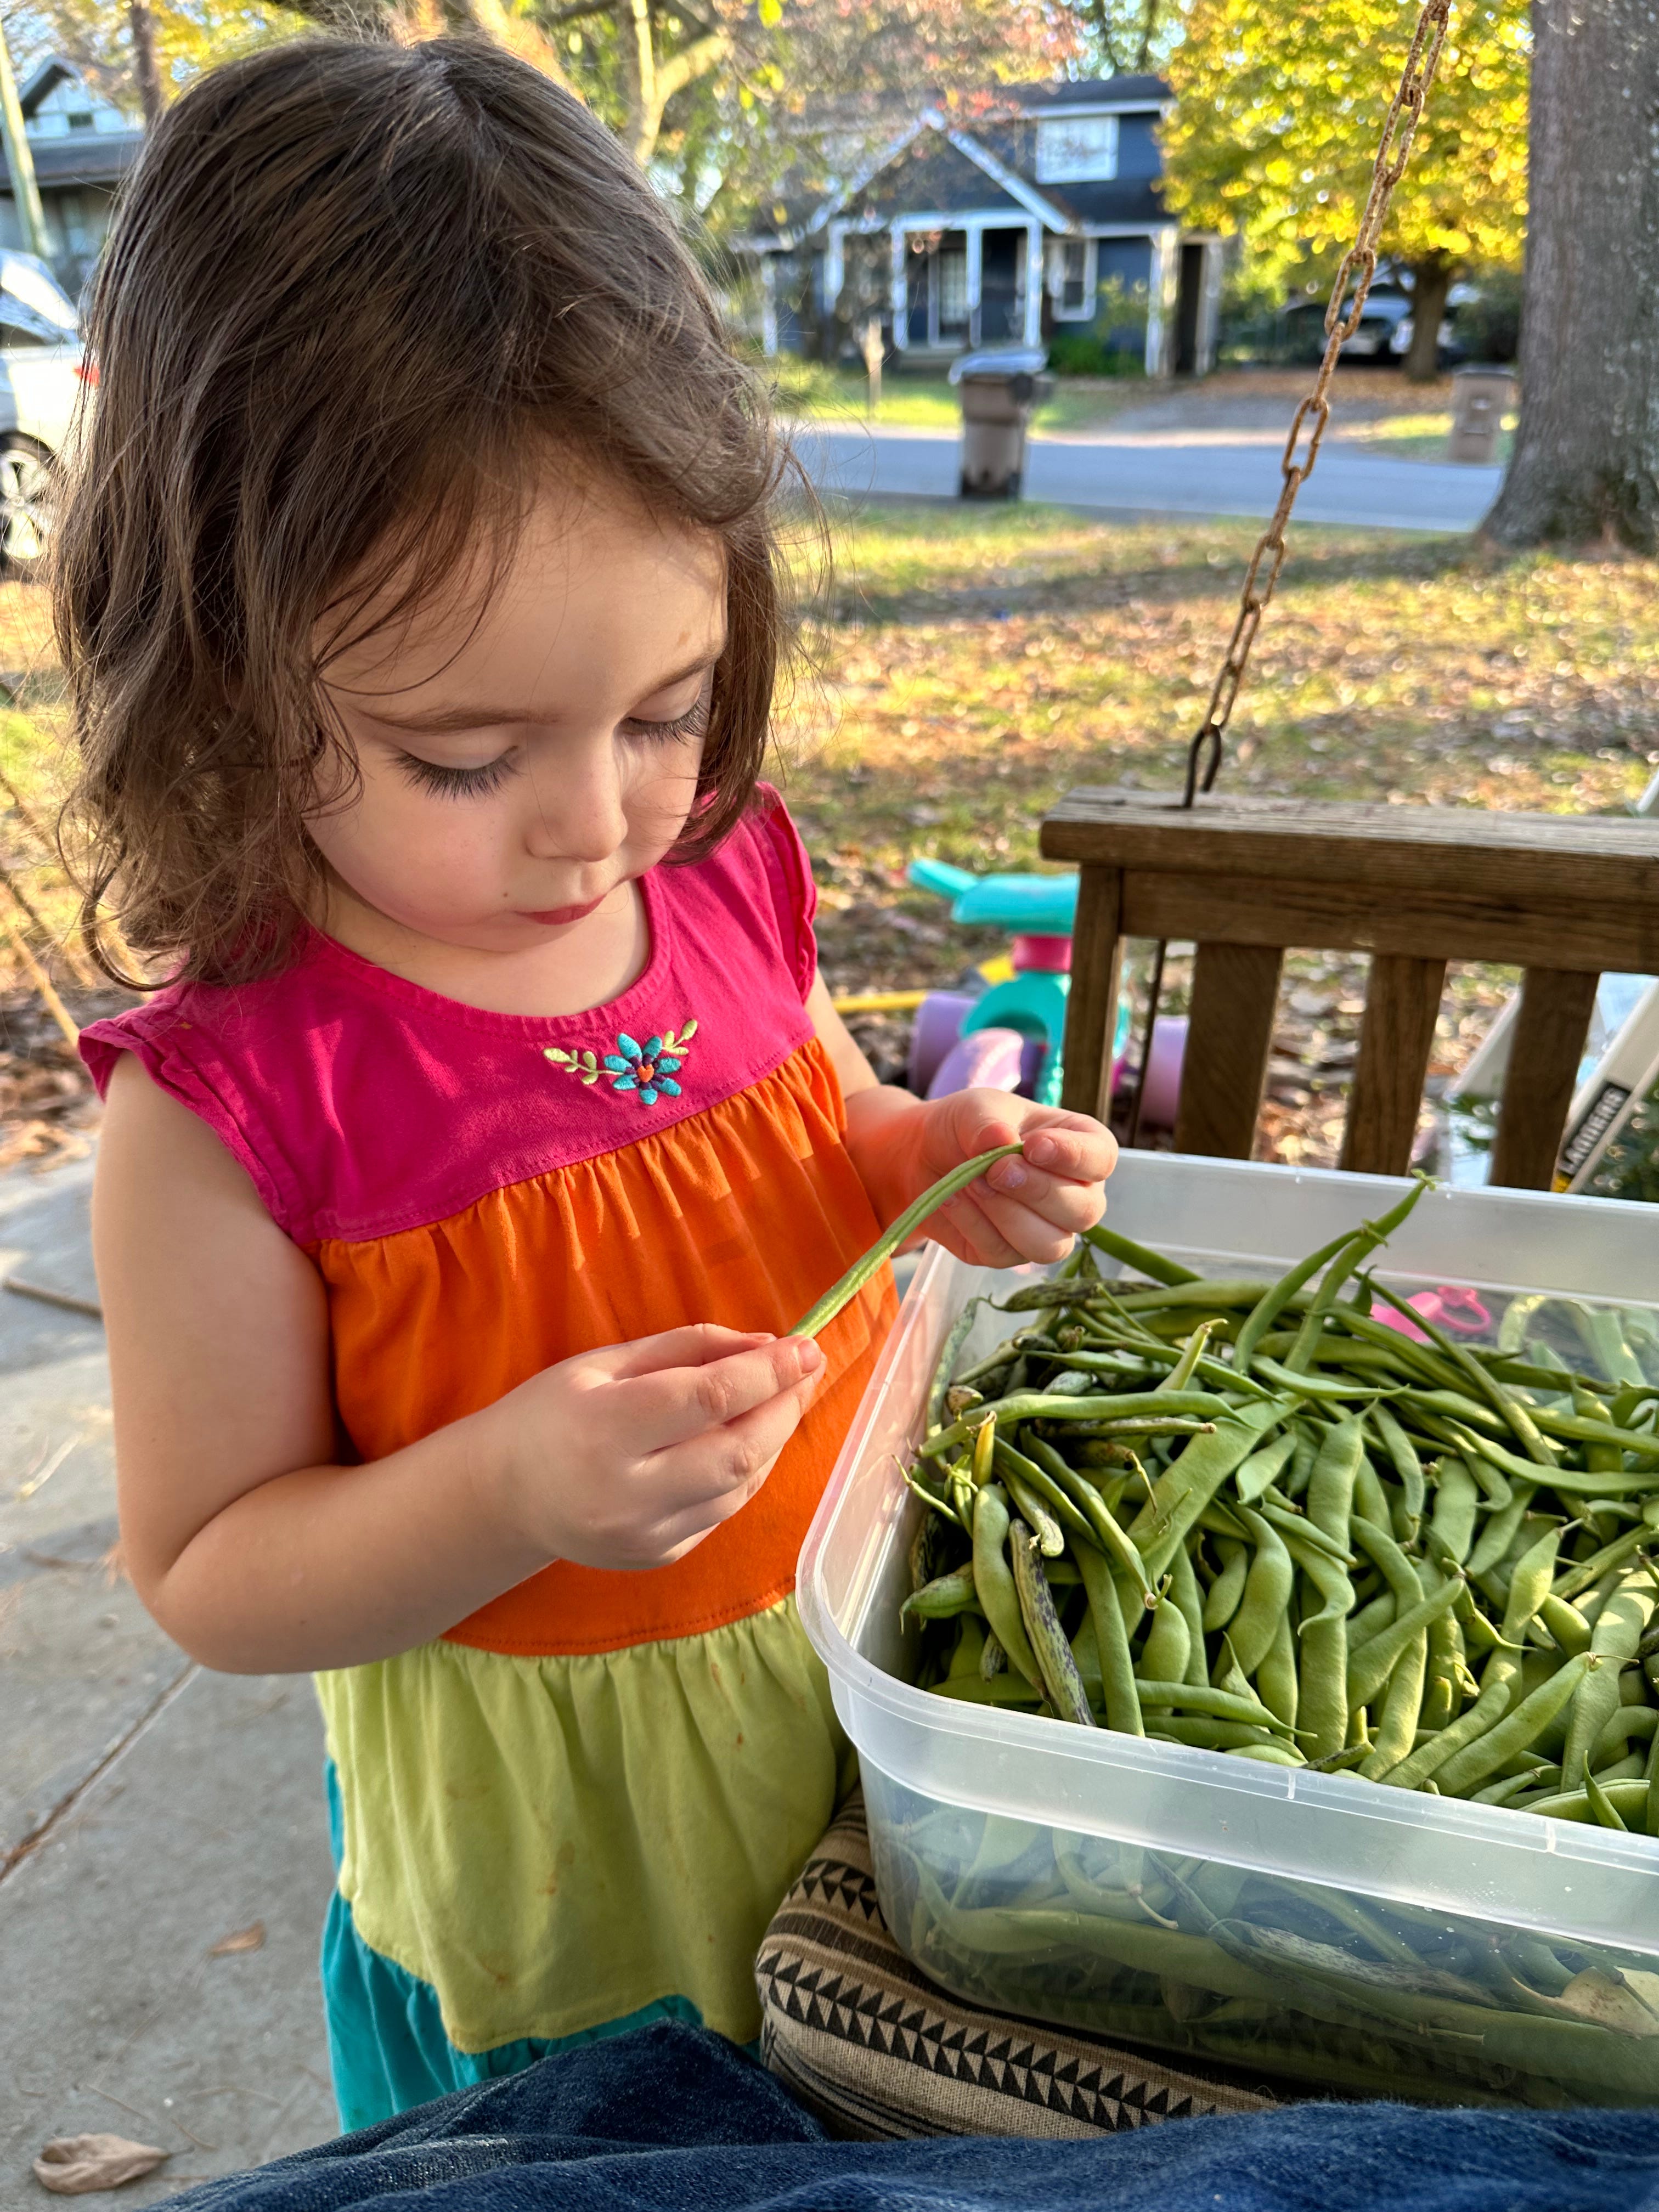
Beans, Beans: There are two types of beans — climbing and bush. Get the climbing. Those are the ones that can grow in plastic cups with only a wet paper towel. You can master climbing beans, peas, and other legumes and then move on to hard mode with heirloom varietals.
Melons and Squash: These also come in lazy (ground-growing) and climbing. The climbing ones require support that won’t topple over and leave them covered in bugs. Zucchini and pumpkins need space to grow, but don’t necessarily need a bed to grow in. Most summer and autumn squash will do well in whatever soil you have; pumpkins and watermelons will take longer. Their ease of growth is balanced out by the broken promise you’ll make to your preschooler that they’ll get to grow their own Jack O’Lantern or Labor Day BBQ watermelon. Prepare for tears.
Carrots: Carrots are easy to grow if you have very loose soil. This means that you’ll have to dig down, well into your bed, to make room for carrots to grow. The same is true for radishes and beets. Be prepared to use “arm day” to make big holes, otherwise you’ll get tiny carrots or, worse, carrots and beets that grow in small carrot and beets families that stick up above the ground and help to advertise your backyard garden as a neighborhood salad bar.
Potatoes: Potatoes can be grown in potato buckets, and the deeper your bucket the better your yield. We grow Princess Laratte, but you can use any grocery store potato that’s grown “eyes” to start your crop. We’ll go over potato buckets a bit later, but you can grow most potatoes in those 5-gallon Home Depot buckets that everyone has without much problem. You will need somewhere to put the bucket and children who understand you can’t just dump out the bucket.
As for what to plant these seeds in? We’ll do that next week. Seed starting.
See you tomorrow with a failure in focaccia.
I've tried and failed a number of gardens and may have given up because I thought it would be relaxing and relatively easy but it's all so damn complicated after all. Your articles are so fun to read I might reconsider.
As a home gardener, you had me nodding and laughing. Great article.