


How to Roast (Almost) Any Vegetable
The secret is oil. That it. It's oil.

First off, this isn’t about potatoes, we’ll get to those separately. There are just too many different kinds of potato to give you a blanket rubric for excellence. Green, orange, and red vegetables? Those we can do.
Last week, we went over what should be in your pantry, and while I’m not saying outright that what I listed is the minimum — because, technically, the minimum is nothing — there are additions you will eventually have to make to have a functioning kitchen for cooking, and one of those is vegetables.
In use in this how-to: olive oil, a baking or cookie sheet or jelly roll pan, parchment paper, salt & pepper, and granulated garlic. At the end, I’ll include some optional oils and vinegars as “finishers” and explain why they work.
Not every vegetable is perfect for cooking. For beginning cooks, we’ll stick to vegetables you can roast to a satisfying outcome: root vegetables like beets, carrots, and radishes; squash and other soft vegetables like peppers; cruciferous vegetables like broccoli, cauliflower, and Brussels sprouts; and skinny stuff like asparagus.
There are really only three steps to any successful roast: pre-heat, prep, and roast. The optional fourth step is, of course, cover whatever does not roast properly with freshly shredded parmesan cheese so no one is the wiser.
Step 1: Pre-heat your oven and prepare your field.
For almost all vegetables, you’re going to start at 425 degrees F, and almost all vegetables will be done between 15 and 25 minutes. Your first step is starting your oven and taking out your baking sheet. Cut a sheet of parchment paper (the kind from the cooking section, not the souvenir shops at the Wonderful World of Harry Potter) that extends all the way to the edges of your sheet.
I prefer a jelly roll pan for roasting vegetables because I have children who like to knock things over — that’s a baking sheet with about a half-inch frame around the edge that keeps contents on the sheet. In another world, we’d use the jelly roll pan to make a large, thin, rectangular cake to roll into a bouche de Noel, but we’re not there yet.
You’ll also need a big bowl. This is the most technical term I can come up with, honestly. It’s just…a really big bowl. You can find them in most grocery store kitchen items aisles. If you’re really ambitious, you can grab one from Gordon Food Service or Restaurant Depot.
Step 2: Prepare and place your vegetables.
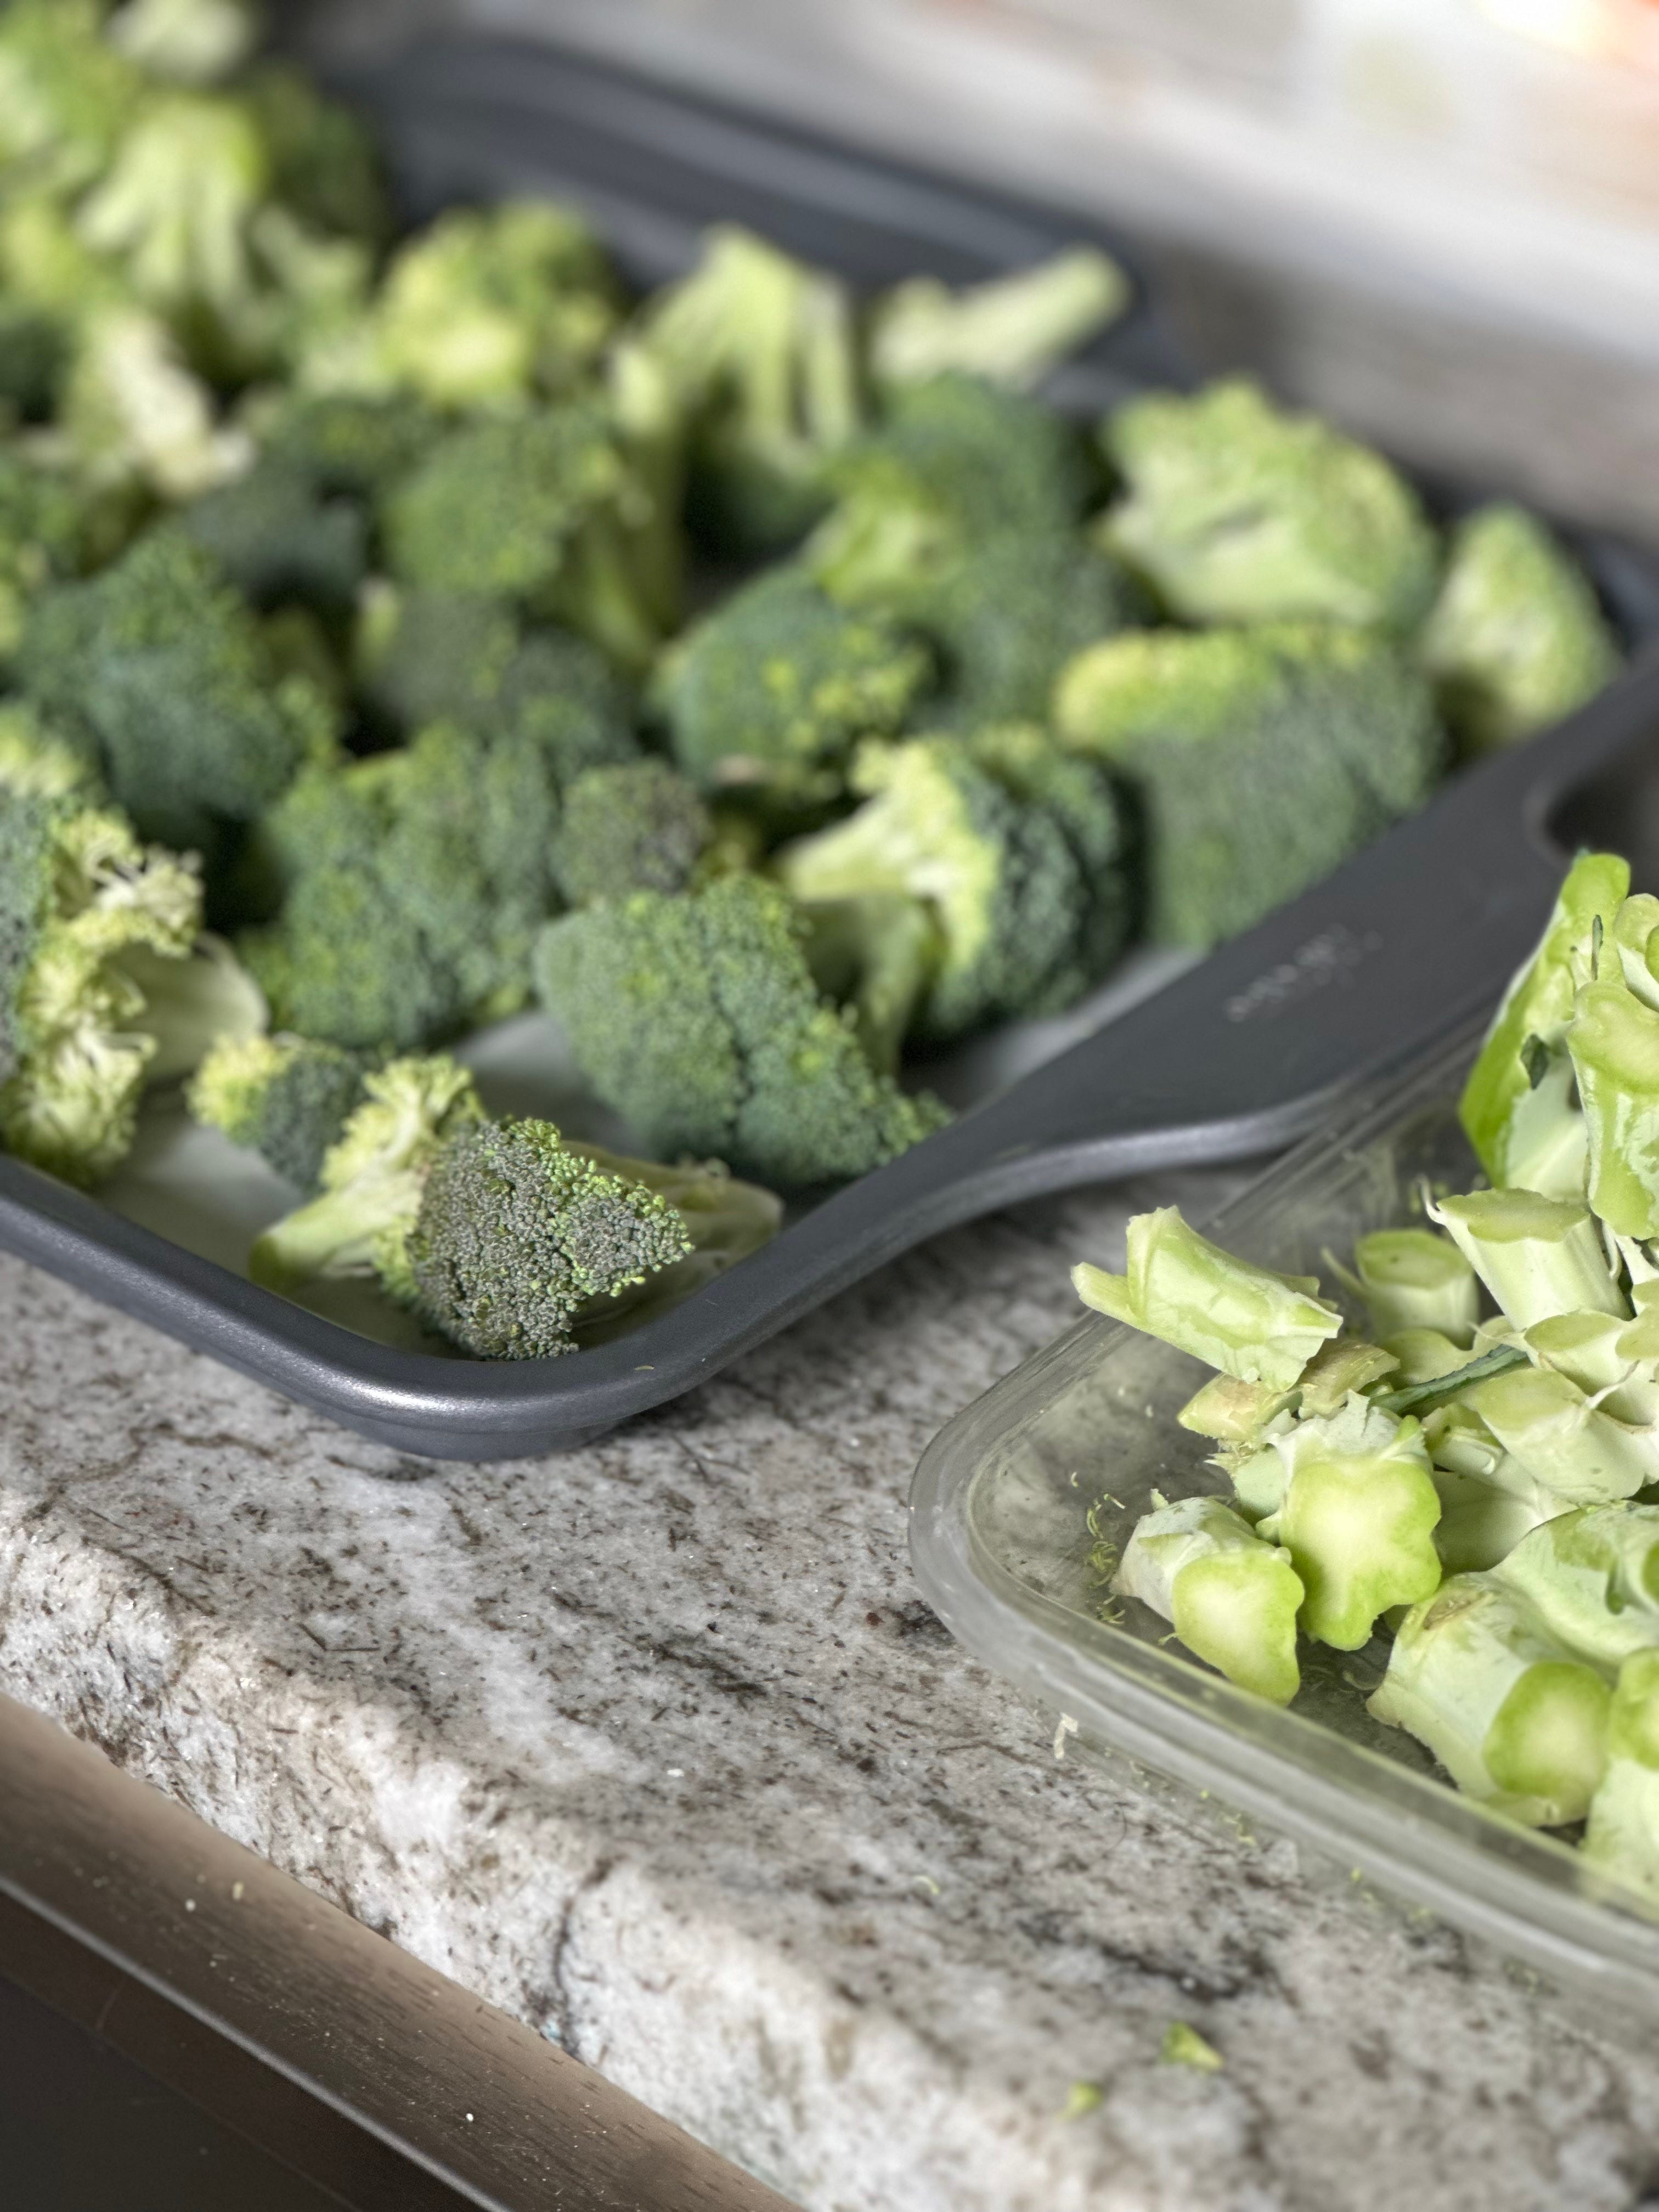
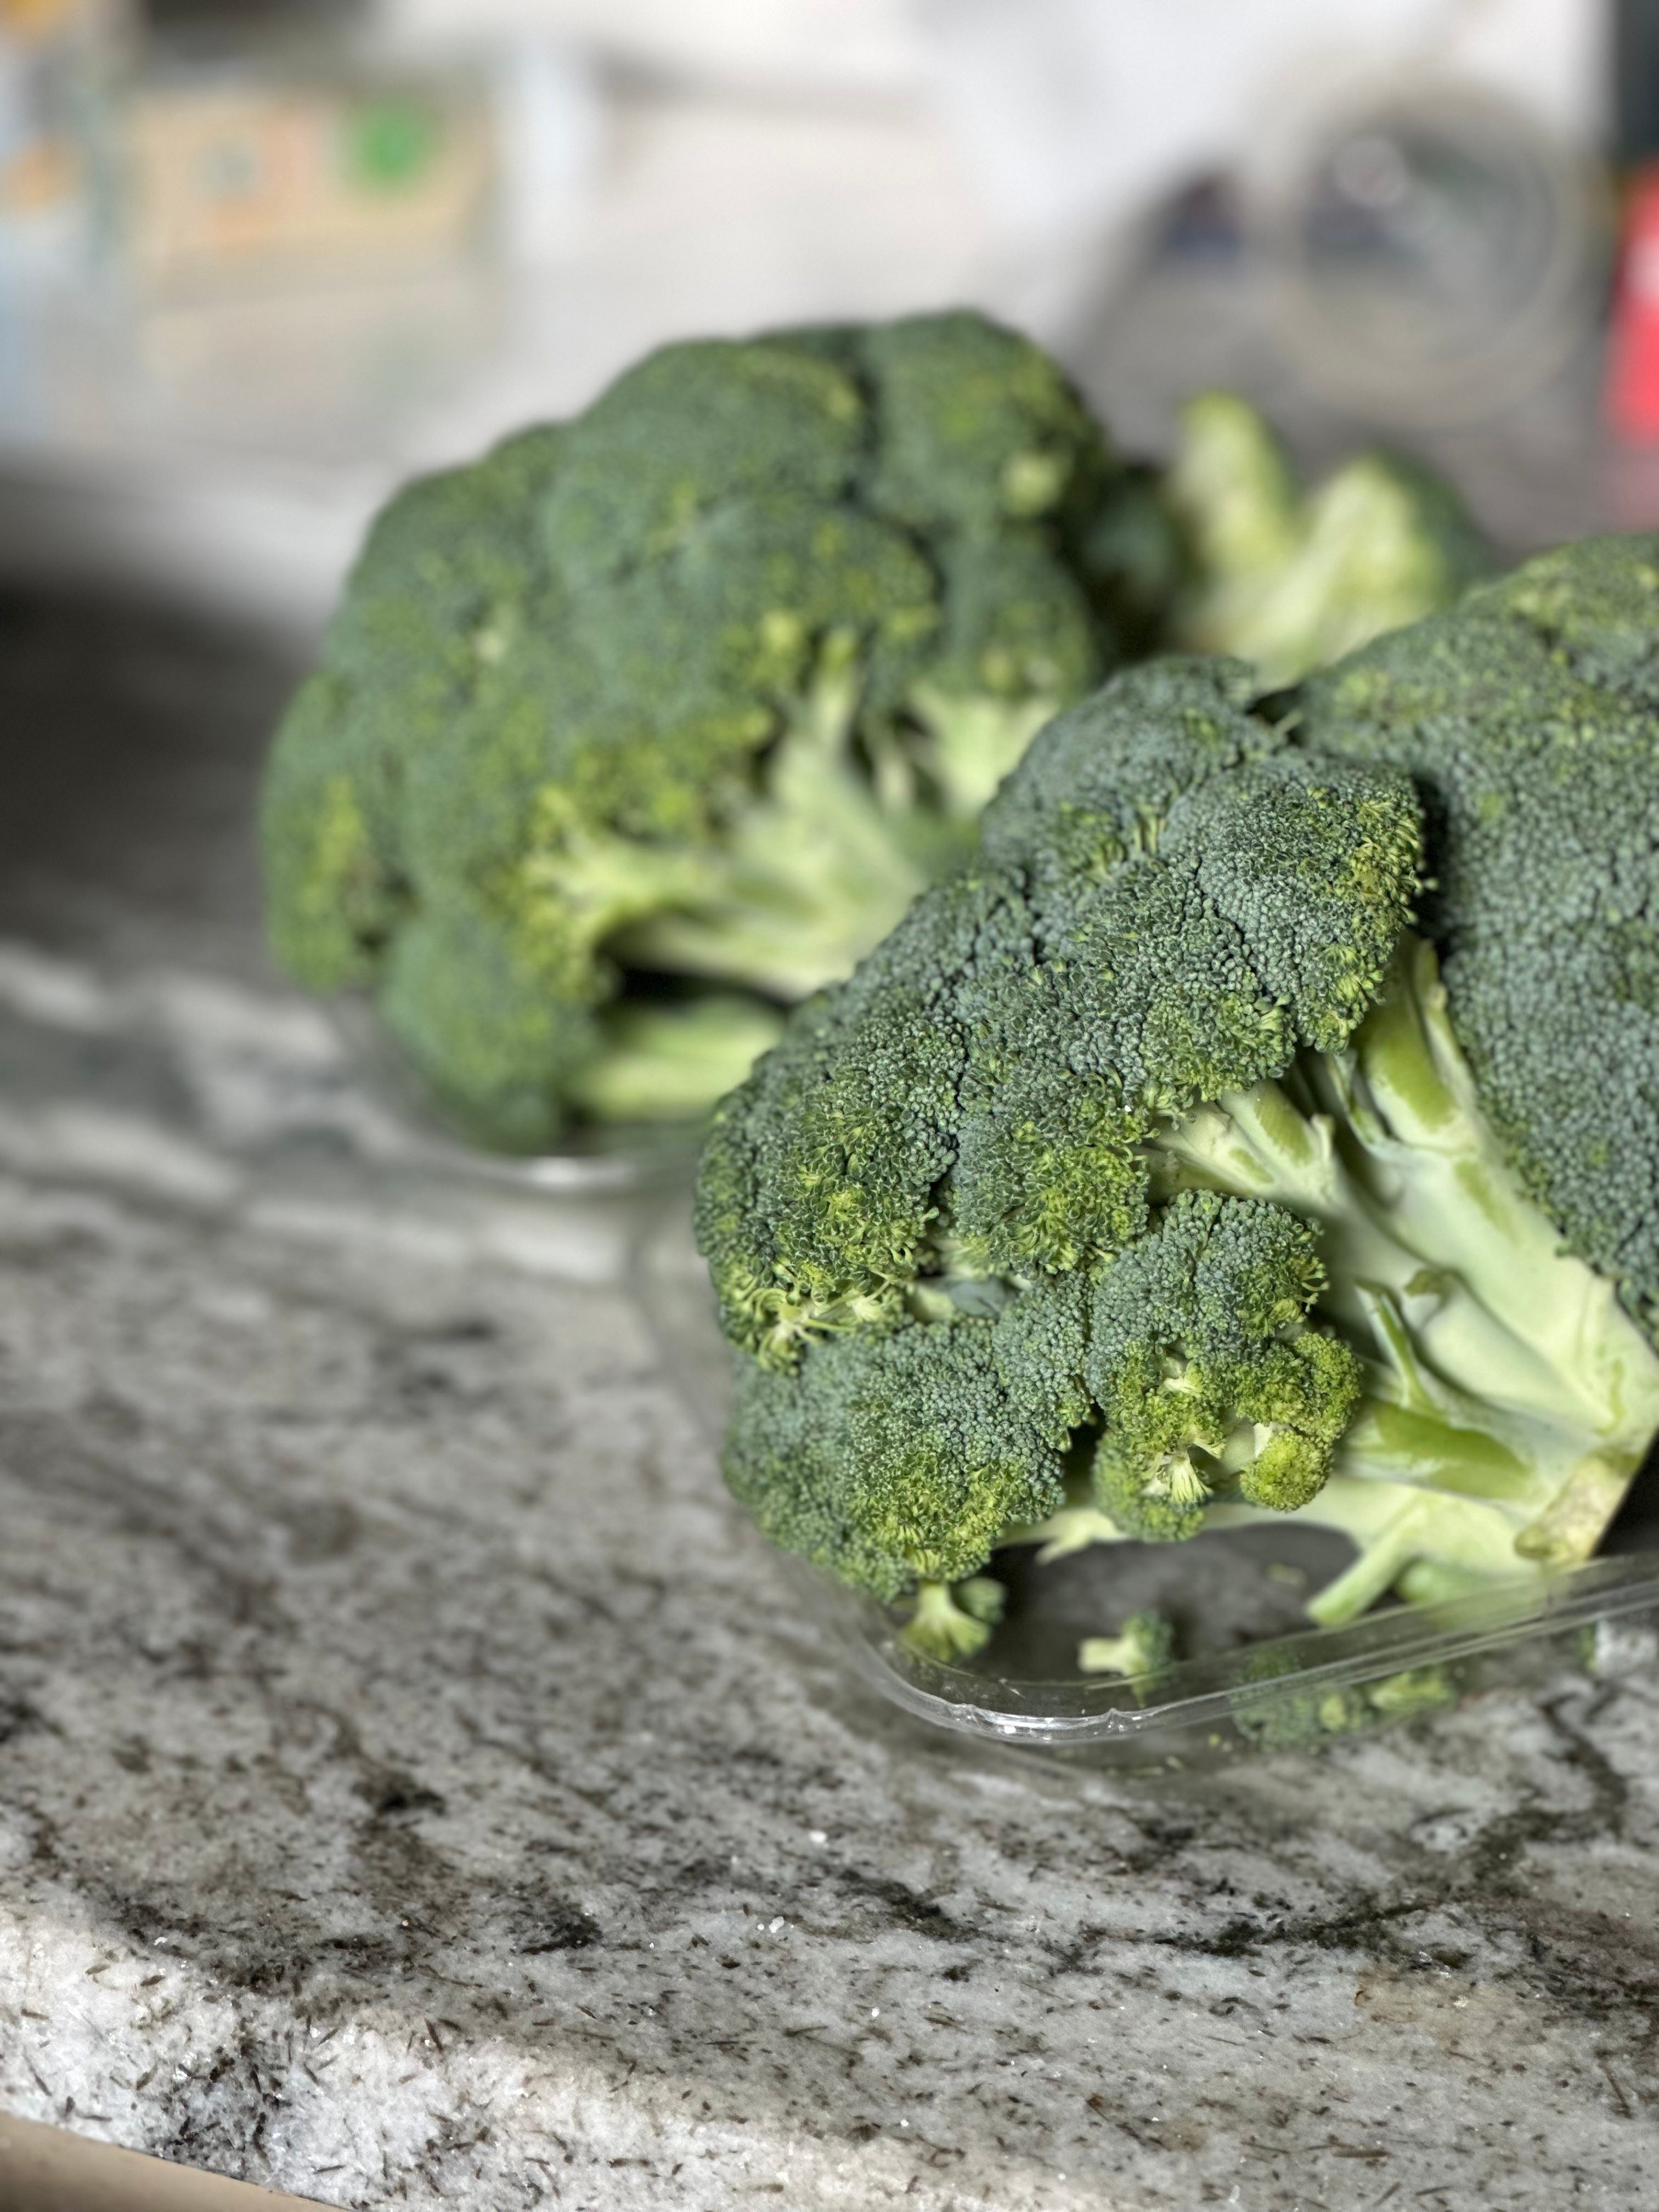
Veggies should be washed and dried before you begin. You’re welcome to use pre-cut vegetables, many of which are available in bags in the grocery store refrigerated section near the herbs and salad dressings, or full sized vegetables, but bear in mind that you’ll need to cut the vegetables into manageable pieces. Root vegetables can be cut into chunks, broccoli and cauliflower roast best in florets, or individual plant stalks. Brussels sprouts should be cut in half or into quarters.
Since we haven’t gone over the various cuts you can make, let’s just call these…chunks. Figure that you’ll want to make sure anyone eating the vegetables can eat them easily without cutting.
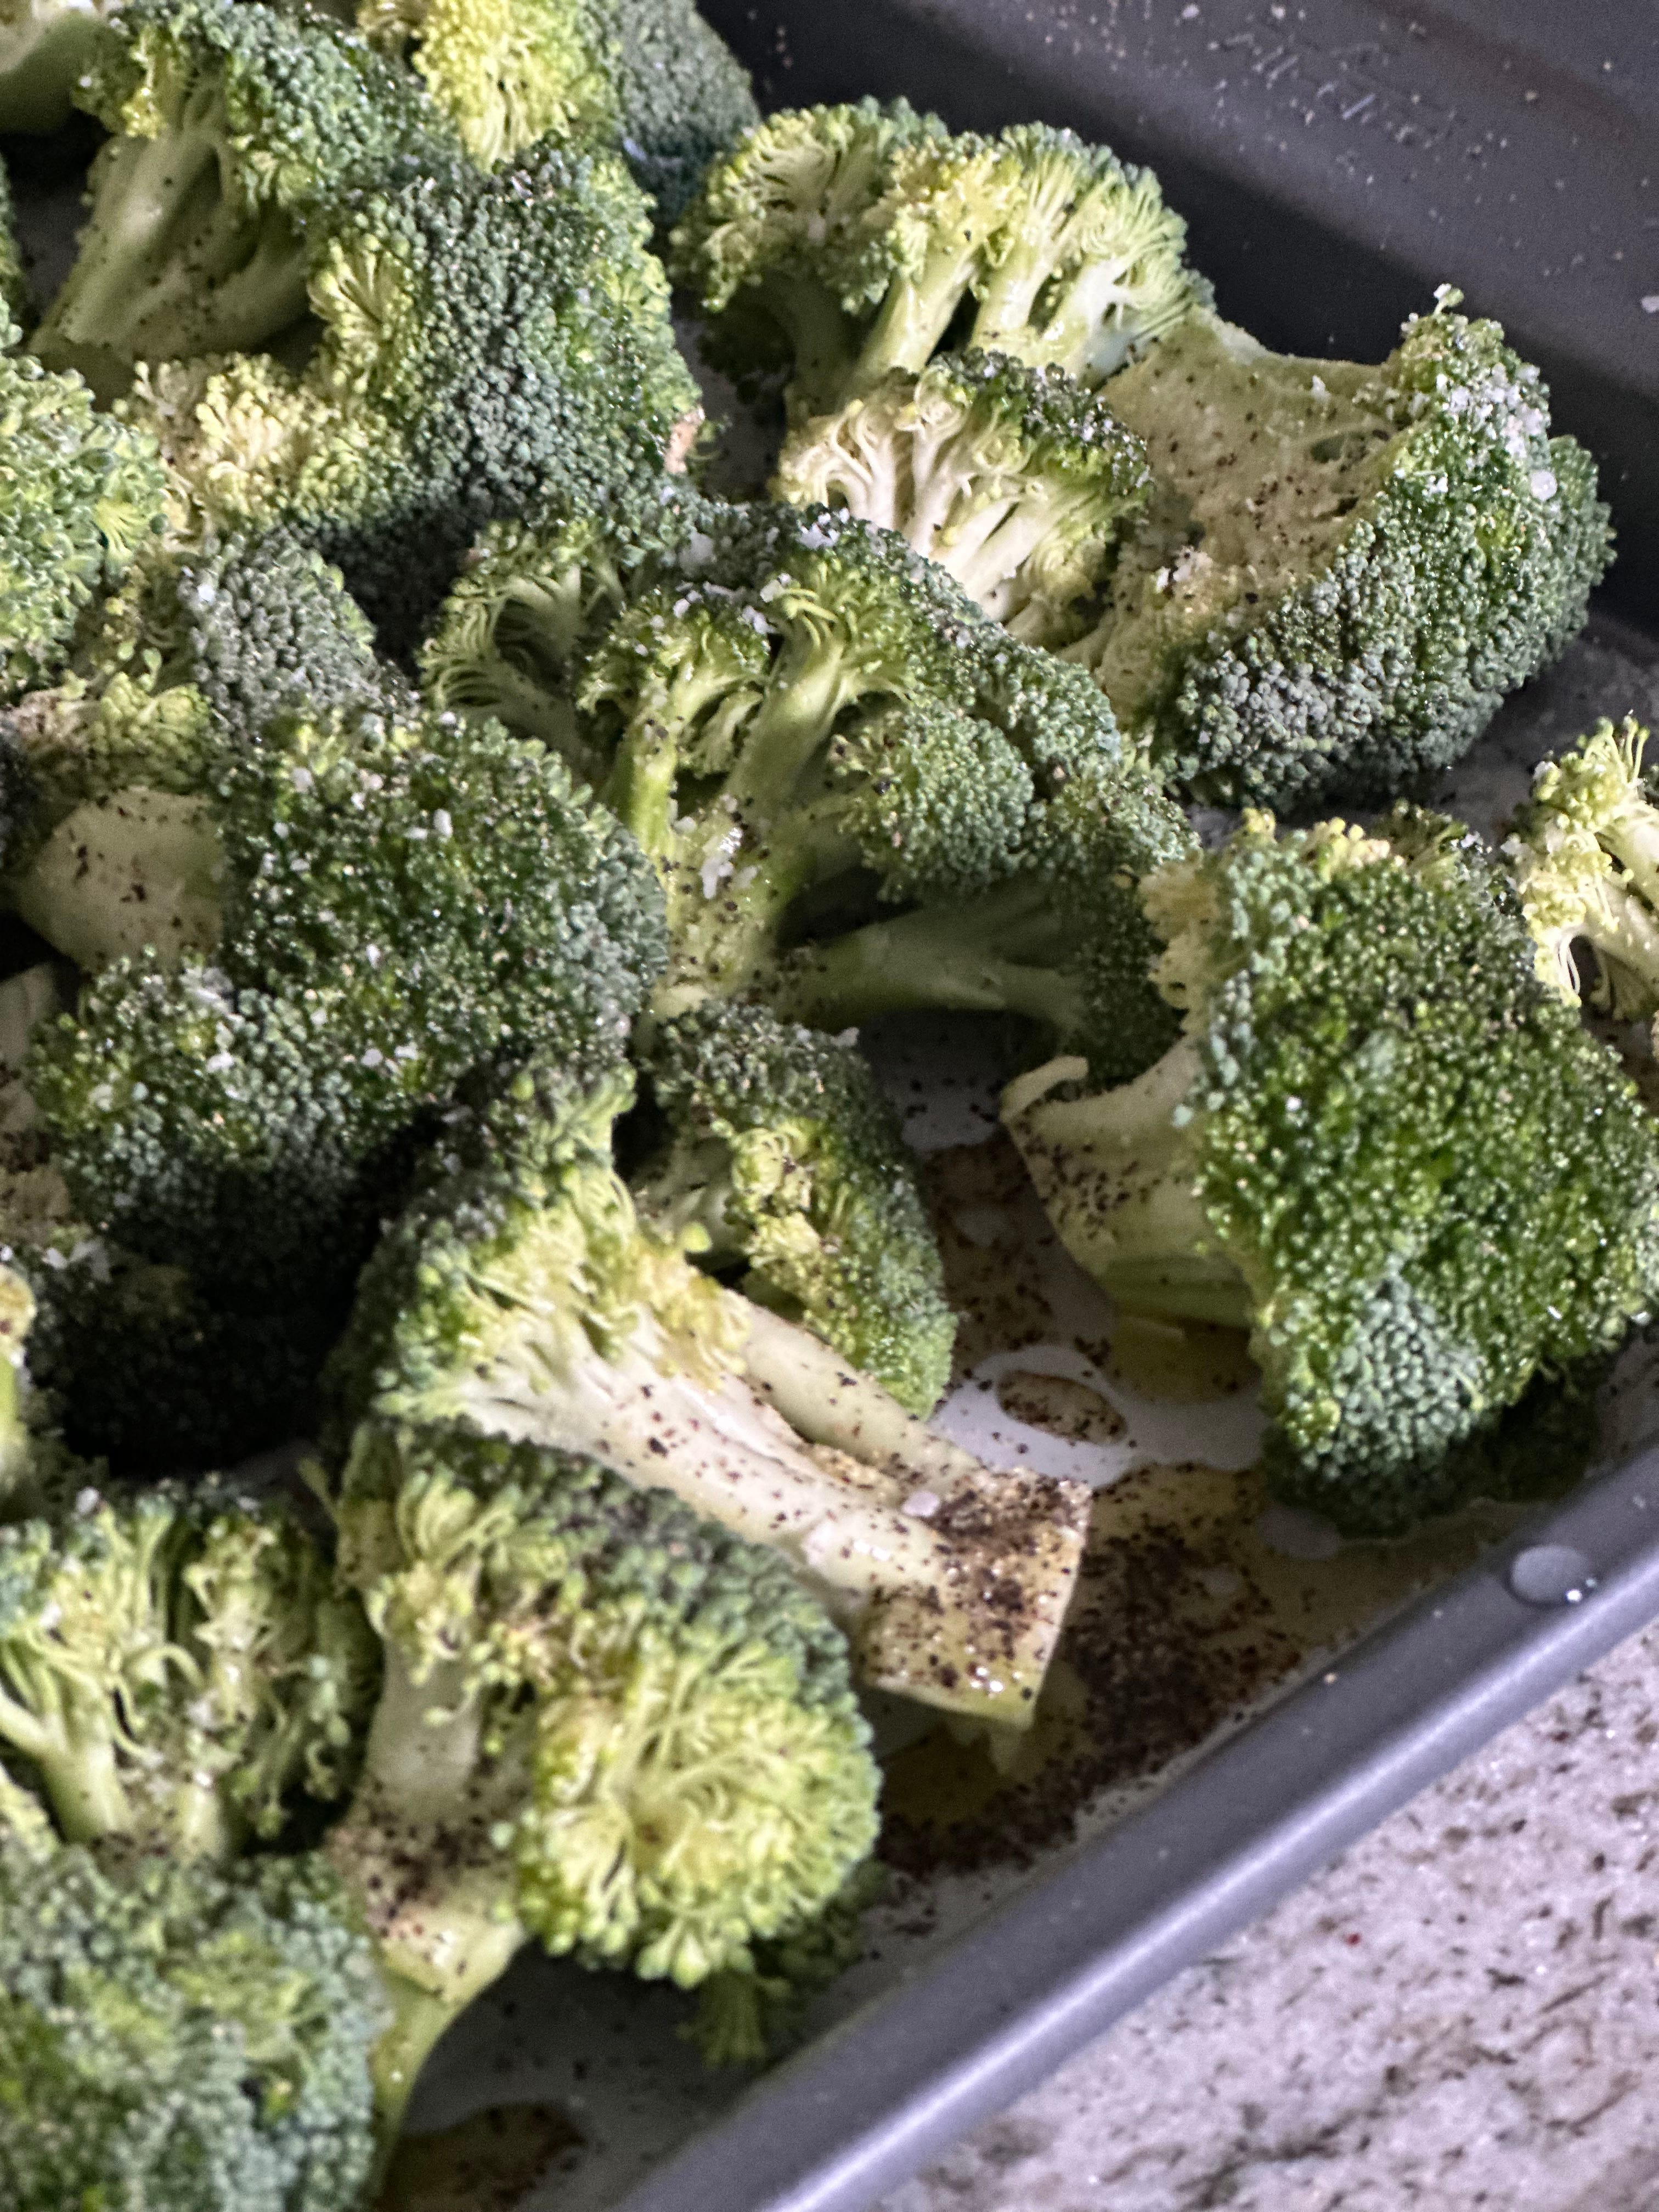
Once they’re in the bowl, you’re going to generously cover them in olive oil. Generously. Think Scrooge the morning after he was haunted by three Christmas ghosts. You’ll also want to season them generously. A good pinch of salt, a good pinch of pepper, and a good pinch of granulated garlic.
While I can’t quite explain what a “good pinch” is, you’ll want all of your seasonings to be visible on your veggies.
Toss your veggies, yes with your hands, until the seasonings appeal evenly distributed and all of your vegetables are shiny. If you can’t immediately tell you’ve seasoned your veggies, ad more seasoning. If the veggies appear dull, add more oil. What you want is bodybuilder-style glistening. Fully oiled up broccoli.
Spill your veggies out on to your parchment paper-ed pan in an even layer and try to keep them separate. Like with meat, vegetables cook more evenly if they have a little room to breathe. I often ignore this rule because I began roasting vegetables before I had considered space a factor and while that’s fine for things I prefer burned to a crisp, like asparagus, it gets a little sketchy with things like broccoli and carrots that need space to properly caramelize.
If you’d like to add some whole pieces of garlic or some cubed pancetta, now’s the time. Pancetta is a salty addition, so it works better with bitter or more acidic veggies, like Brussels sprouts and carrots. You can eat both the garlic and the bacon after roasting.
Step 3: Roast Until Golden and Slightly Charred
The key to most roasted vegetables is time. You want the veggies to be tender but not wilted, have some color but burnt. The easiest way to achieve perfect roasting on a vegetable is to set a timer for 15 minutes and check on your veggie at that point to see where you’re at. At this 15 minute mark, you will check the veggies and also flip them so they can get evenly browned.
Then, set a timer for another 5. And another 5. Most vegetables that are not potatoes will be perfect around the 25 minute mark. Potatoes, again, have starch, so the chemical reaction is somewhat different and they will take much longer.
I don’t recommend checking at any interval less than five minutes and, quite frankly, if you have an oven light, that’s even better. Every time you open your oven, you lose heat, and every time you lose heat, you extend the time needed to roast your veggies.
Root vegetables, including carrots, are usually done between 30 to 45 minutes
Broccoli, cauliflower, and Brussels sprouts, are usually done between 20 and 25 minutes.
Peppers are typically done at the 15 minute mark
Asparagus and other skinny vegetables (beans, pea pods) are usually also done around the 15 minute mark unless, like me, you like to eat asparagus burnt.
Squash that like the heat tend to be softer, so things like zucchini and spaghetti squash, known as summer squash, will roast in a shorter amount of time, about 25 minutes.
Squash that like the cold, like butternut squash, require much longer cooking time. Like potatoes, these squash can caramelize, so low and slow is a more appropriate approach. Butternut squash can take up to 45 minutes to get really nice and brown.
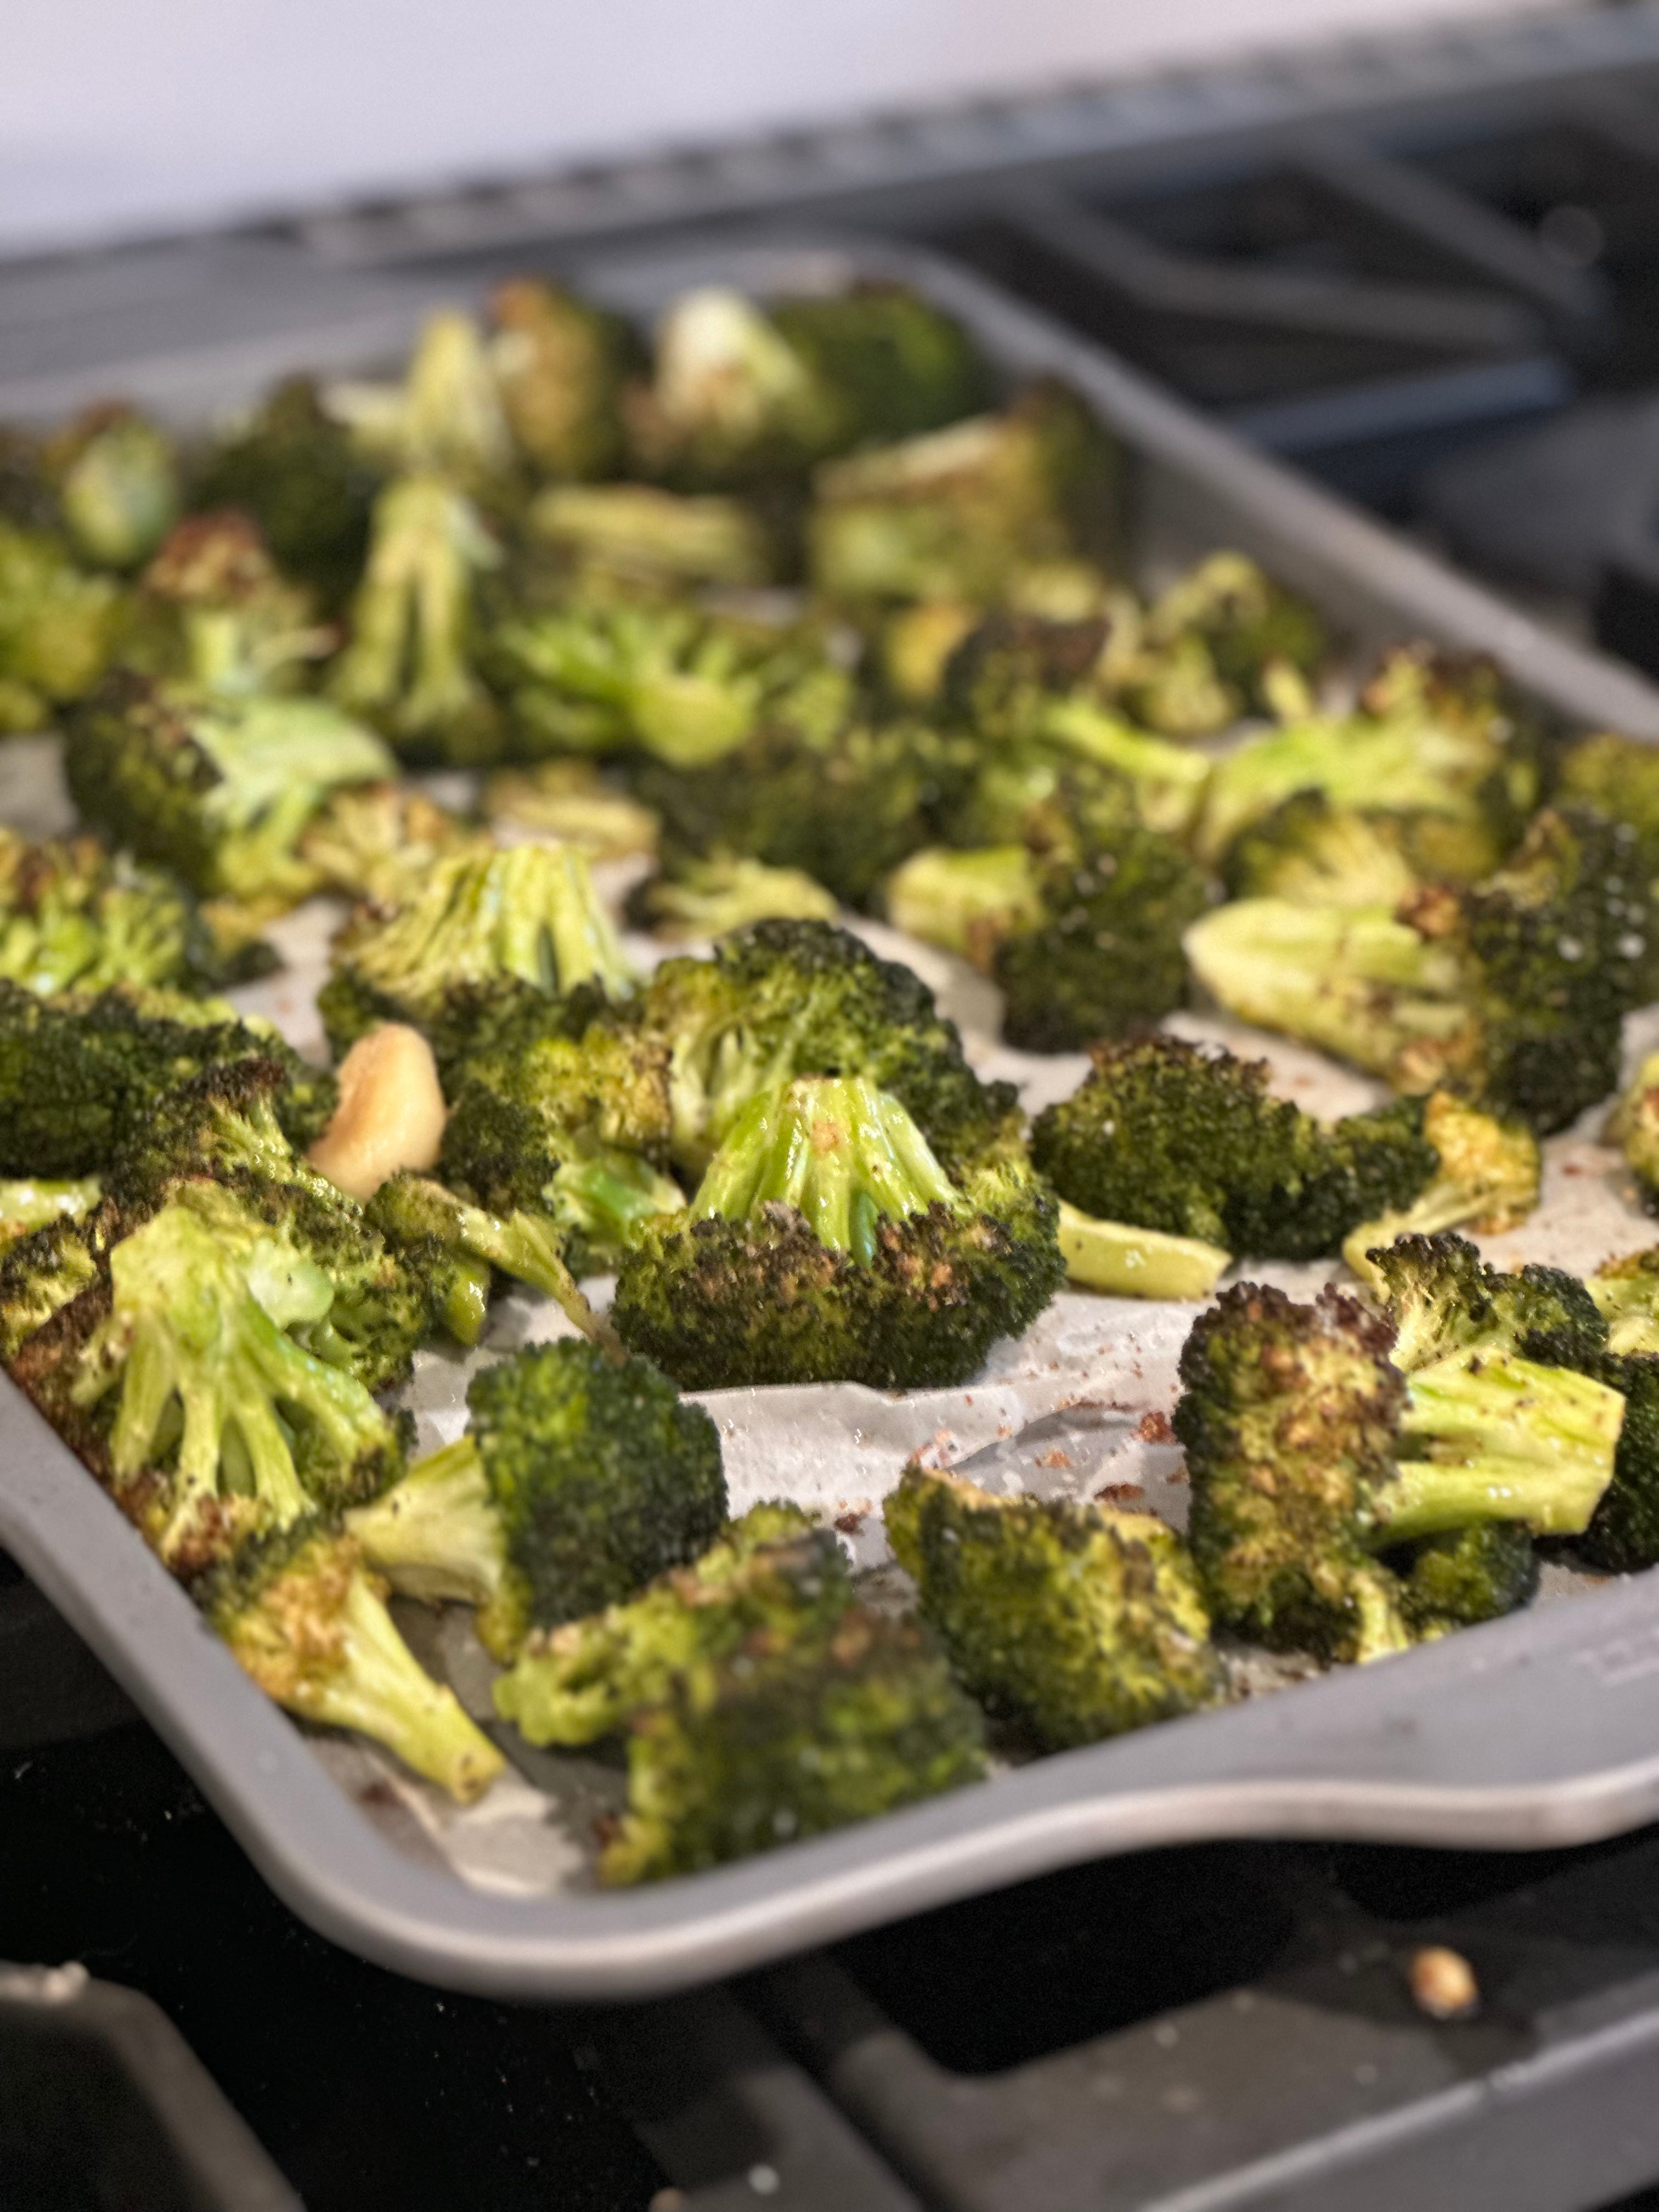
Once your veggies look like the below broccoli, remove from the oven.
I shouldn’t have to say that, but yesterday a bunch of Gen Z’ers on X also said they go to weddings without bringing gifts and I’m a little concerned that we’re not fully explaining the concept of living in a society.
Bonus Step: Being Fancy

At the end, if you really want to seem impressive, there’s always the possibility of “finishing” with a splash of lemon juice (which can also mitigate any burned taste from veggies that have gotten too toasty), or another acid like balsamic vinegar.
If you really want to experiment with additions and finishes, Brussels sprouts and broccoli are great canvases. Broccoli does fine on its own, but it really likes a splash of lemon juice and even some freshly shredded parmesan cheese. Brussels sprouts are bitter, so they pair very well with sweet acids, especially a Balsamic glaze. If you really want to go to town, try cooking your sprouts with pancetta, then finishing them with a splash of sweet vinegar or soy sauce.
Obviously, I’ve written this all out before giving you some basic cooking instruction, like the interplay between the four tastes (salt, sweet, bitter, and umami), and the interplay between the four key elements of cooking food (salt, fat, acid, and heat), as well as before I explain that knife work matters in cooking — and that’s because roasting vegetables, and, as I’ll go through next week, making a basic cooking dish, can help you reverse engineer cooking science.
Vegetables are relatively cheap. Roasting is relatively easy, an approach affected almost exclusively by time, which even beginners can control. And once you’ve mastered that, I can go back and tell you that you, yes you, are doing science, and that some of these basic skills will seem really impressive when I ultimately explain why they work — which will, in turn, make both you and I look like geniuses.
Come back later in the week for a list of what you need to make food.
Oh man I like my broccoli *much* toastier.
Step 4 in the intro section is not actually optional, TYVM.